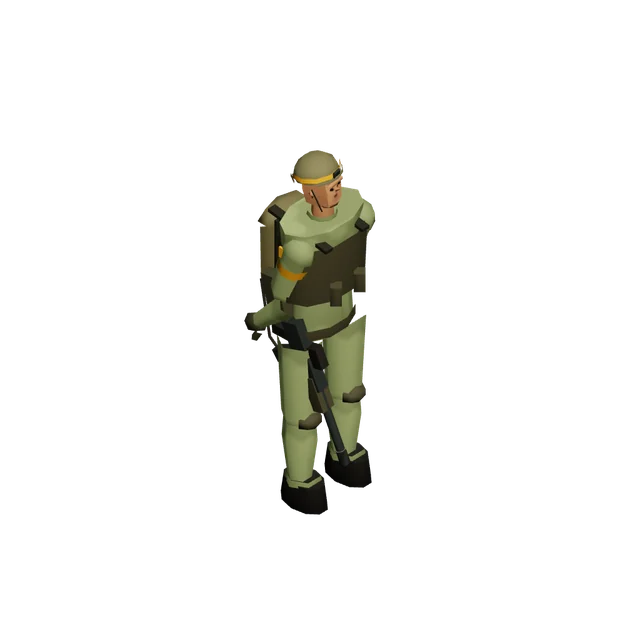
Rifle Infantry
Holds ground and fights exposed infantry.
Use it to secure useful positions. Do not send rifles into a tank exchange.
Meridian Command / units
Know what you send. Know what you build.
Holds ground and fights exposed infantry.
Use it to secure useful positions. Do not send rifles into a tank exchange.
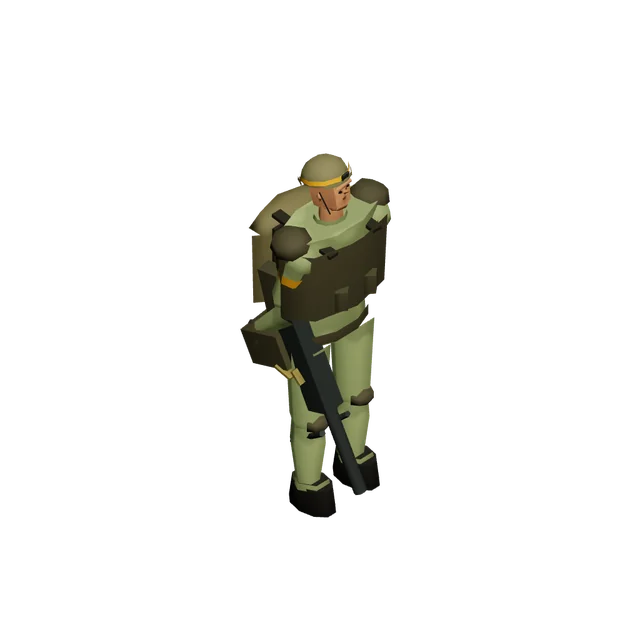
Reinforced infantry with sustained fire and anti-armour support.
Its machine gun handles foot soldiers while rockets threaten armour. Heavy kit slows the advance.
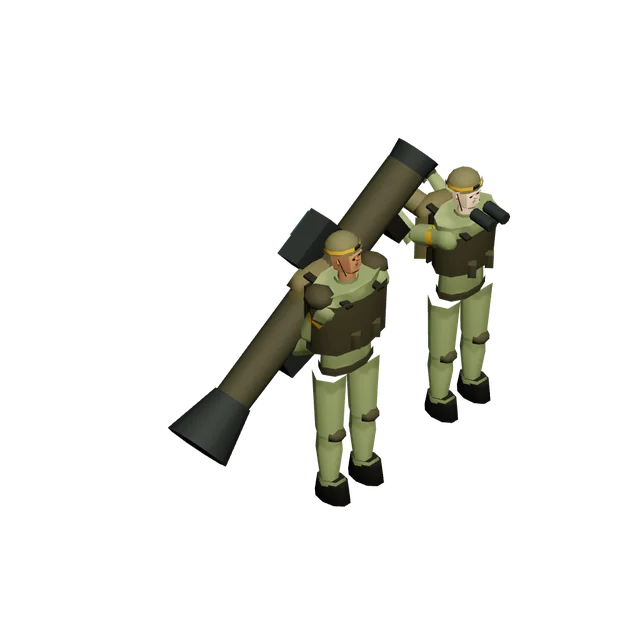
Infantry-carried anti-armour fire.
Screen it with troops that can handle enemy infantry. Give the rockets a vehicle worth hitting.
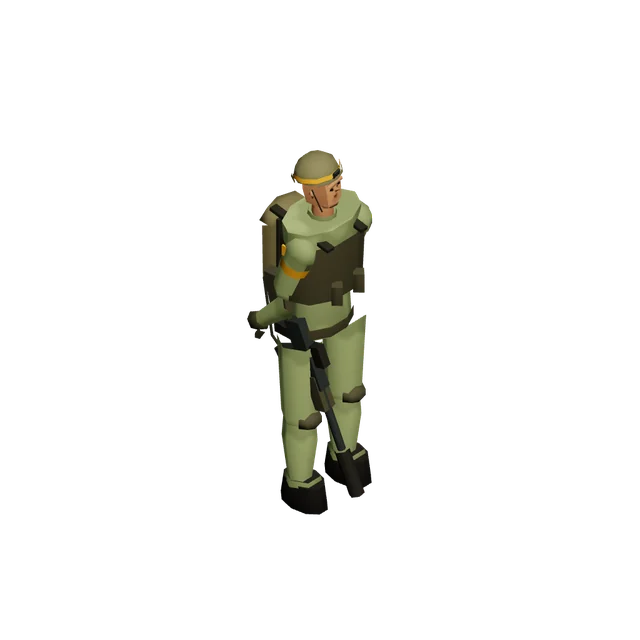
Elite reconnaissance and selective infantry combat.
Use mobility and observation to choose the exchange. A suppressed carbine is not dedicated air defence.
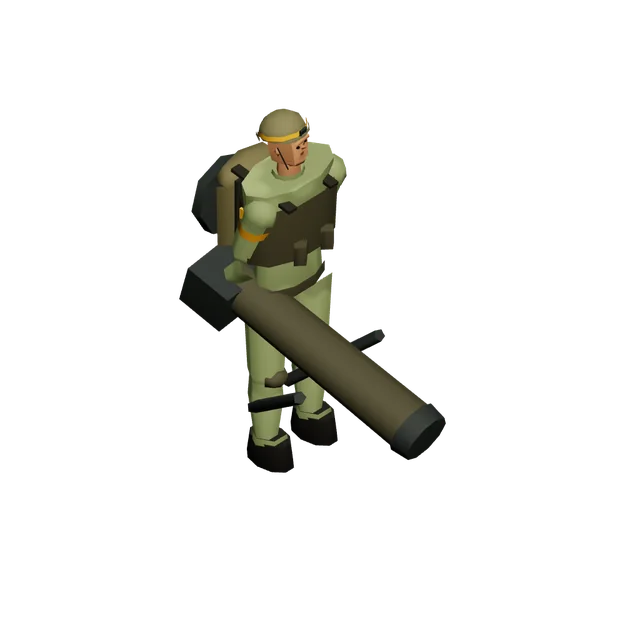
Standoff demolition of walls and fortifications.
Keep its dead zone screened. It is a wall-breaker, not a substitute for an infantry firing line.
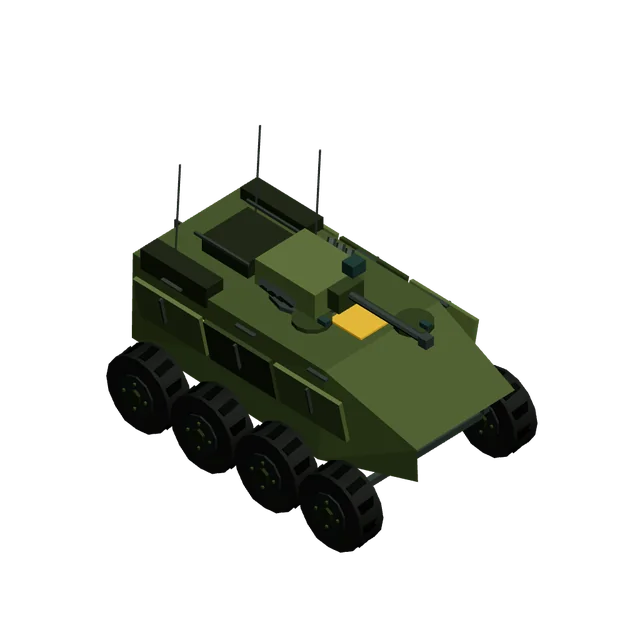
Armoured fire support against infantry and light vehicles.
Keep it with the infantry and behind the tanks. Its heavy machine gun is not built for a tank duel.
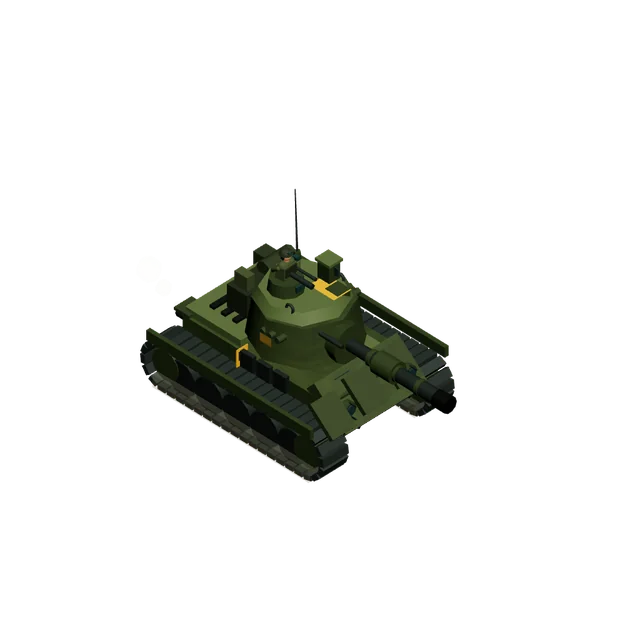
Mobile reconnaissance and skirmishing.
Use its optics and moving fire to probe the line. Heavy opposition demands support, not bravado.
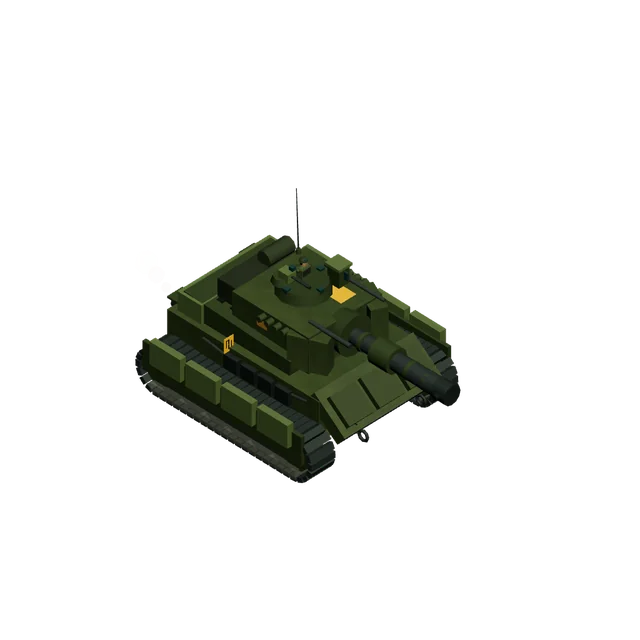
Armoured breakthrough and hard-target fire.
Lead a supported breach. Slower movement makes chasing scattered survivors a poor assignment.
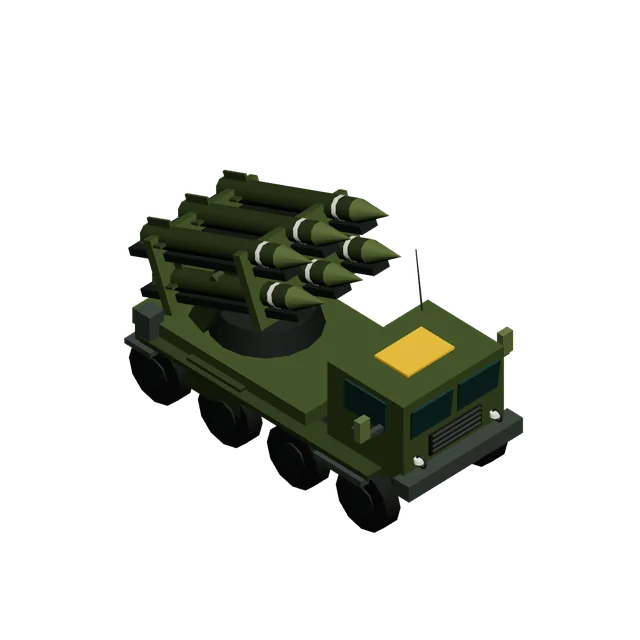
Long-range bombardment of fixed targets.
Protect its close approaches during the long reload. Troops and moving armour are poor targets for this job.
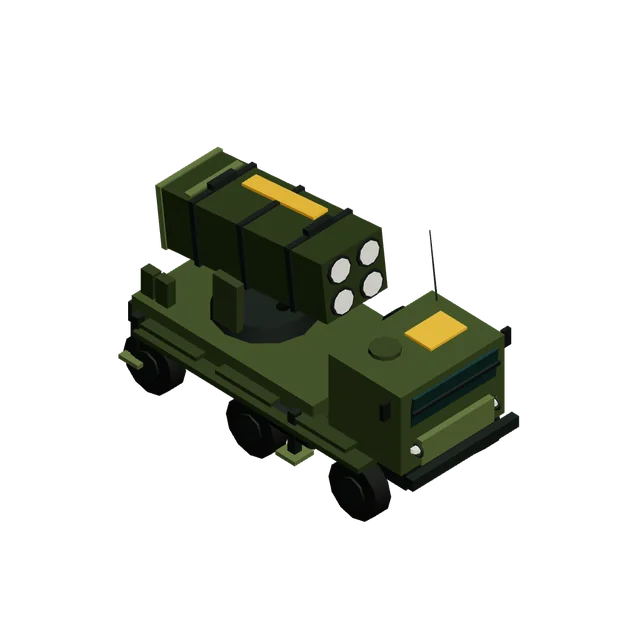
Mobile missile defence against aircraft.
Stop and set up where friendly observers can support it. It cannot defend itself against ground attackers.
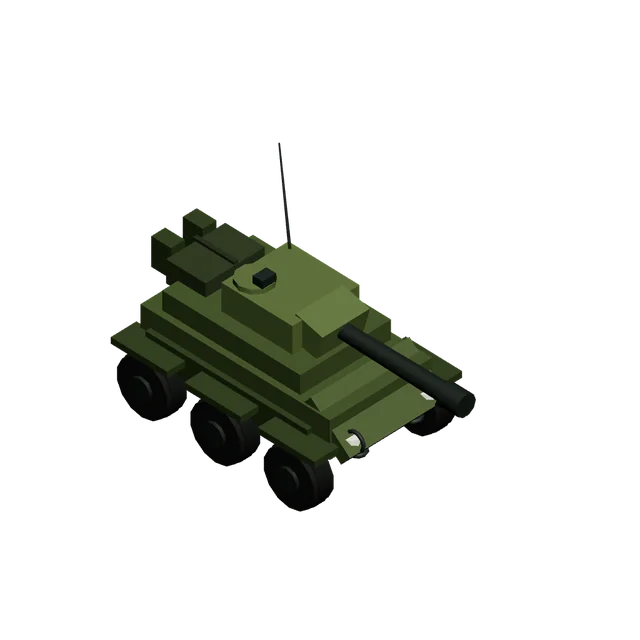
Mobile cannon support and flanking fire.
Use speed to find an angle. Thin plating makes a frontal tank exchange a bad bargain.
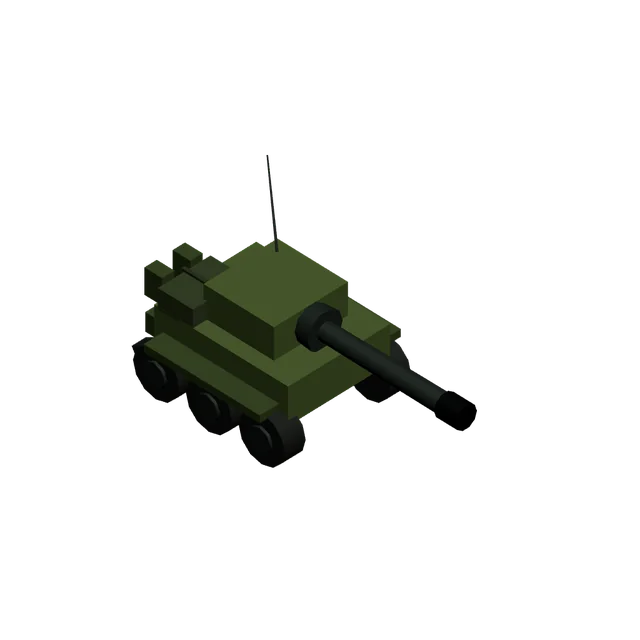
Long-range shellfire against structures and concentrations.
Keep a screen across its dead zone. Once the enemy reaches the gun, range is no longer an advantage.
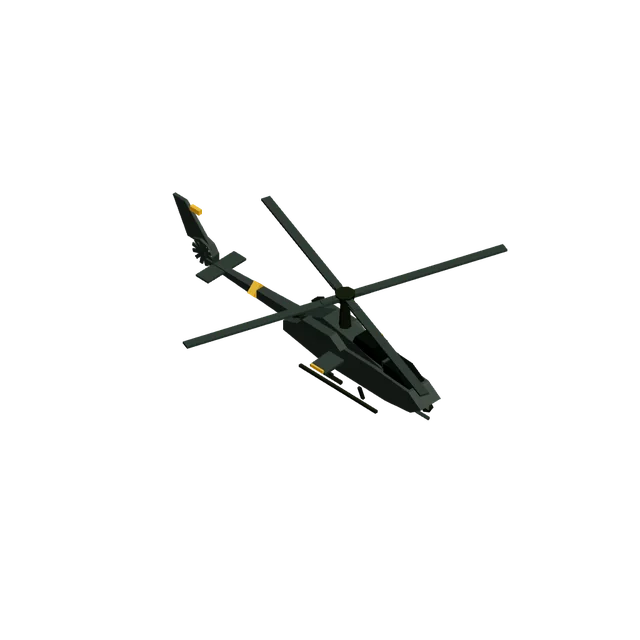
Stand-off fire against infantry and light vehicles.
Use its gun and rockets from the flank. Keep a Helipad available for the return trip.
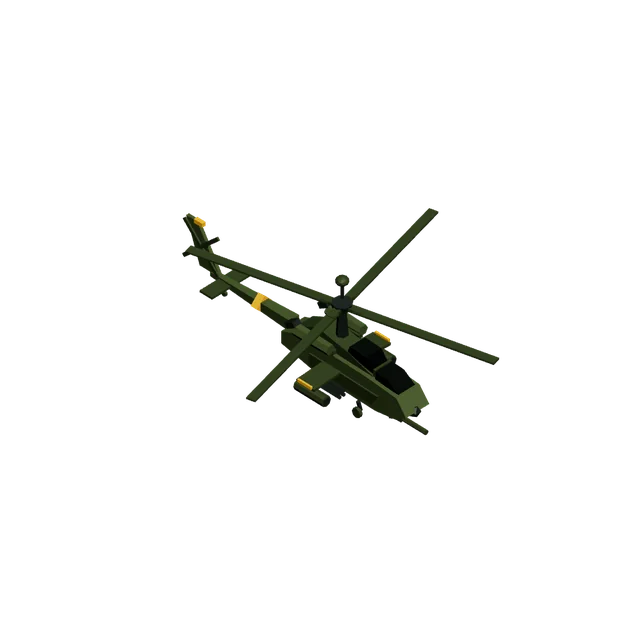
Anti-armour strikes from the air.
Reserve its missiles for hard targets. Return to the Helipad rather than linger with spent ordnance.
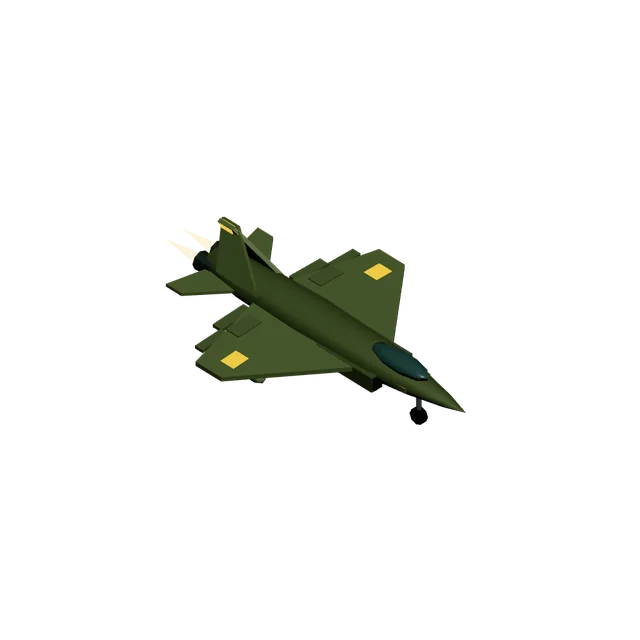
Bombing passes against ground and naval targets.
Plan a clean approach and return runway. Repeated passes depend on landing to rearm.
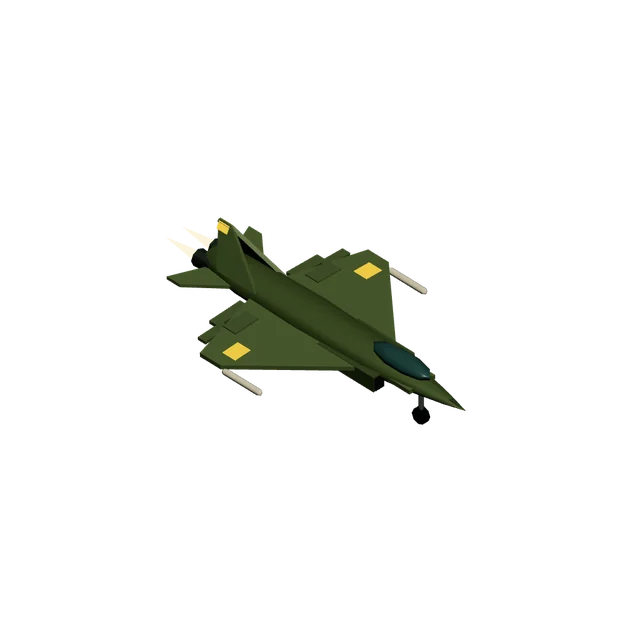
Cannon interception of drones and aircraft.
Use it to contest the sky. Leave structure demolition to strike aircraft.
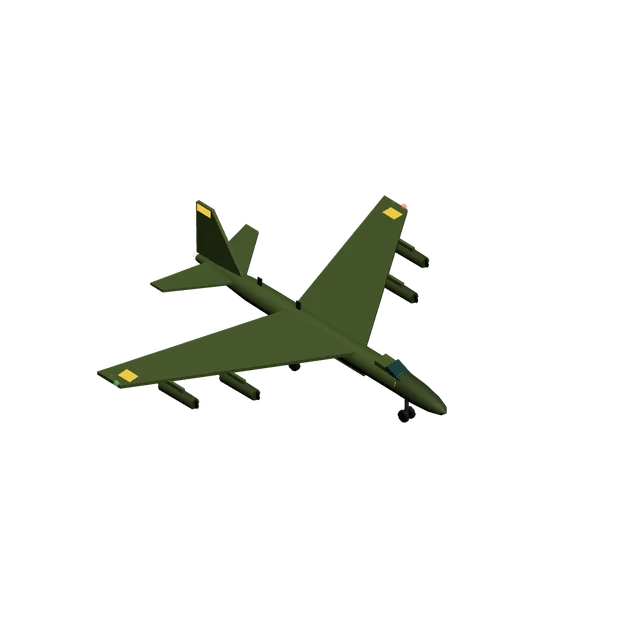
Heavy bombing against structures and fortifications.
Clear the approach before sending it in. Slow turning and costly replacement punish casual routes.
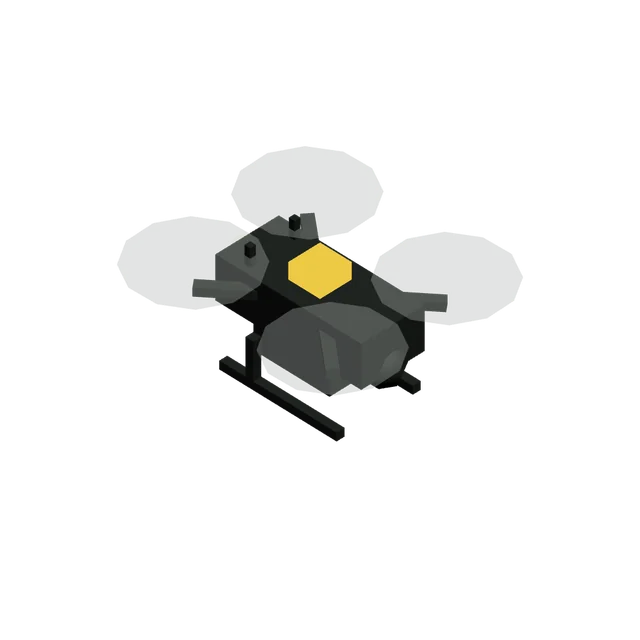
Disposable close-contact strike.
Commit it against a useful target, not an empty approach. It is fragile and does not return from a successful strike.
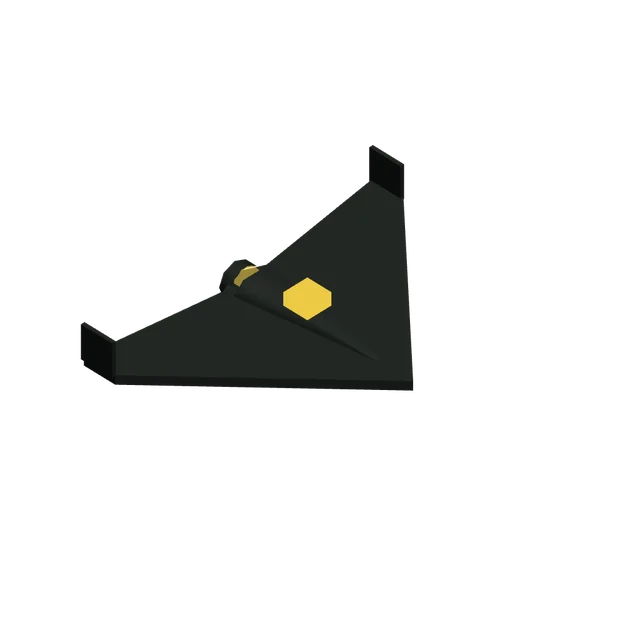
Heavy close-contact strike against valuable targets.
Use its charge where the damage matters. A costly drone still needs a clear approach.
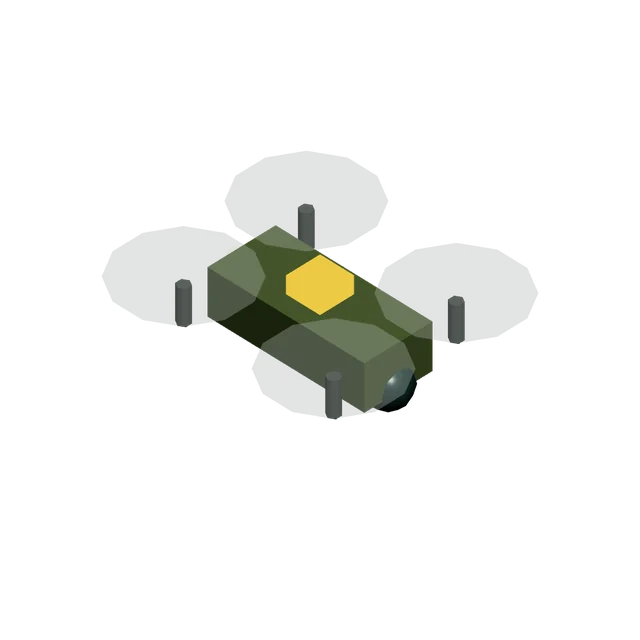
Sustained small-arms fire from the air.
Keep it over exposed infantry. Armour is a poor use of its ammunition.
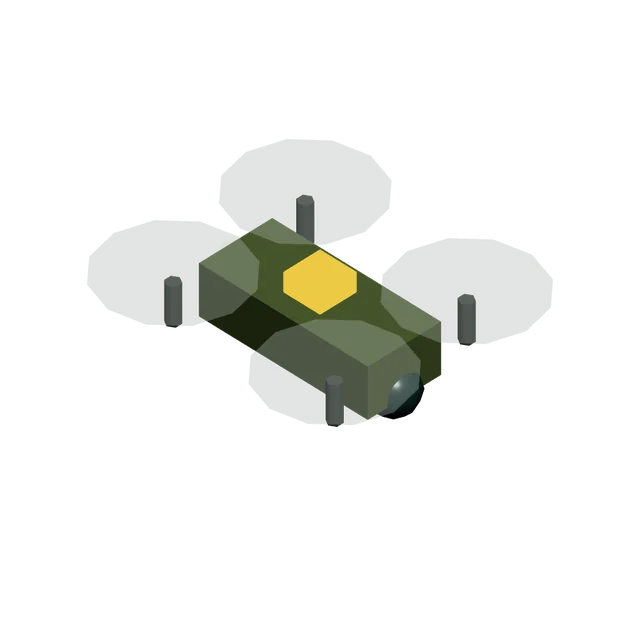
Intercepts aircraft by physical contact.
It is destroyed on impact. Pursue drones and catchable low aircraft, not a faster jet disappearing overhead.
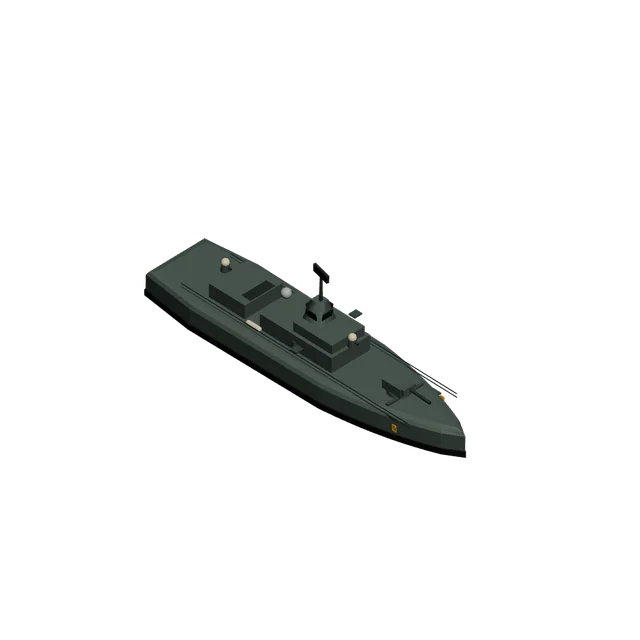
Heavy naval gunfire and coastal bombardment.
Give the main battery a clear bearing. Its broad turning circle makes a last-minute course change expensive.
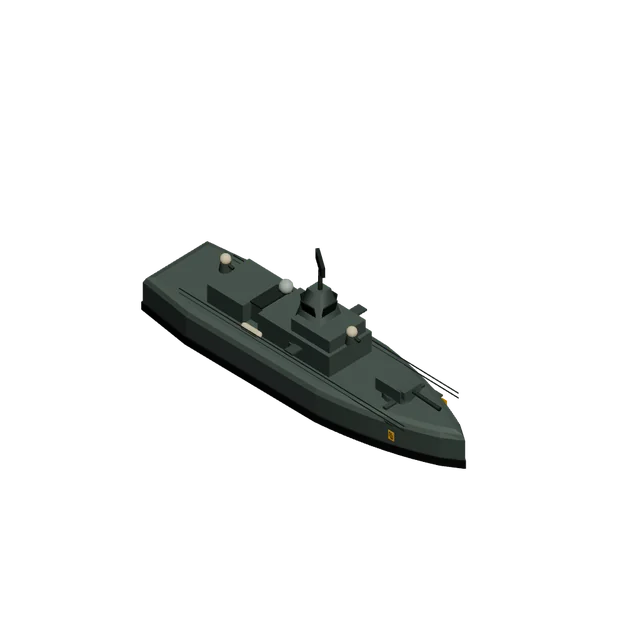
Naval gunfire and coastal support.
Establish position before the exchange starts. Gradual acceleration leaves little room for a late escape.
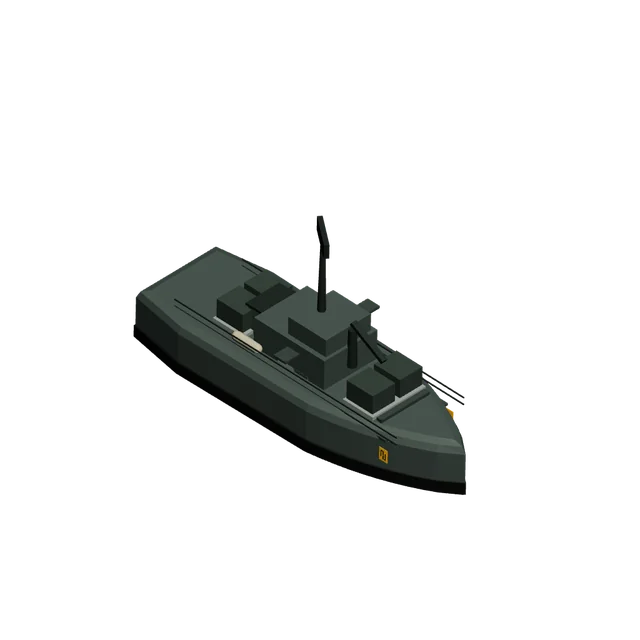
Unarmed naval movement.
Keep the route clear and escort the hull. It has no weapon to rescue a bad crossing.
Builds offshore extraction platforms.
Escort it to the offshore worksite. An unarmed construction barge is not a screening ship.
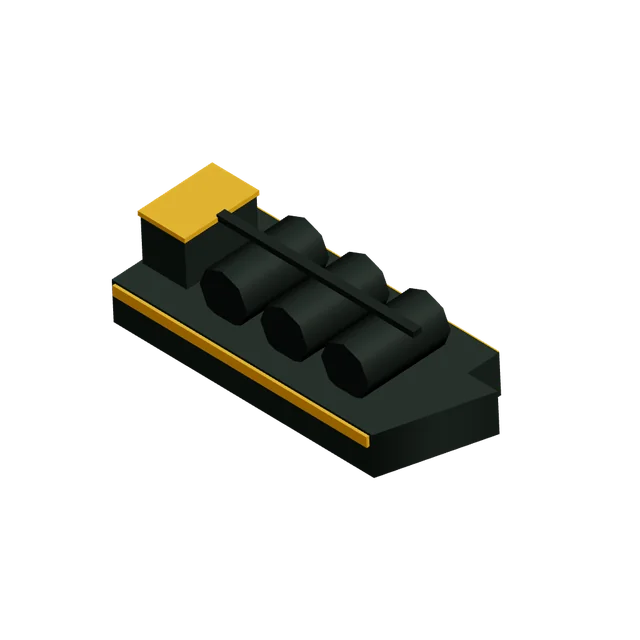
Carries offshore crude to the Shipyard.
Protect the sea leg and the onward truck route. Reaching port is not the end of the supply chain.
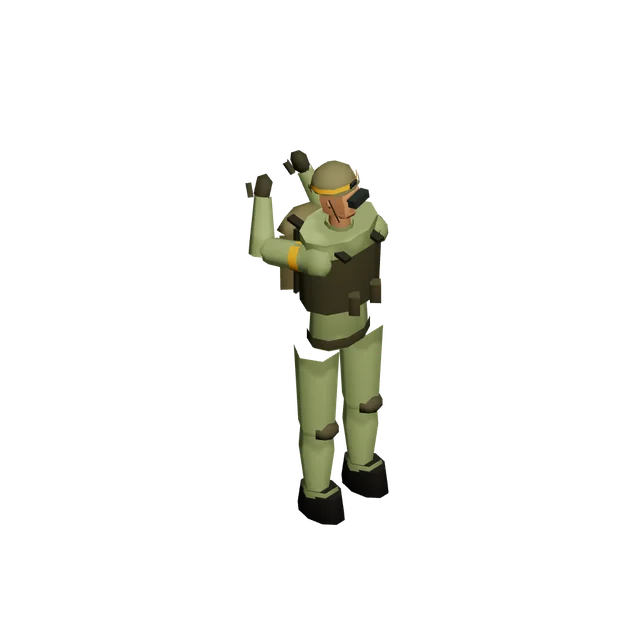
Forward observation and light self-defence.
Watch approaches before the main force moves. Its rifle is insurance, not a breakthrough plan.
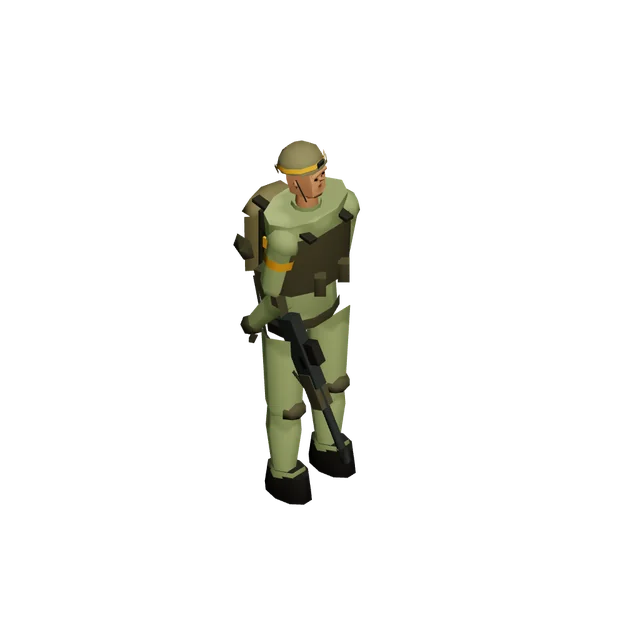
Lays mines to disrupt ground approaches.
Place mines where traffic must pass. An attentive opponent can spot and avoid them.
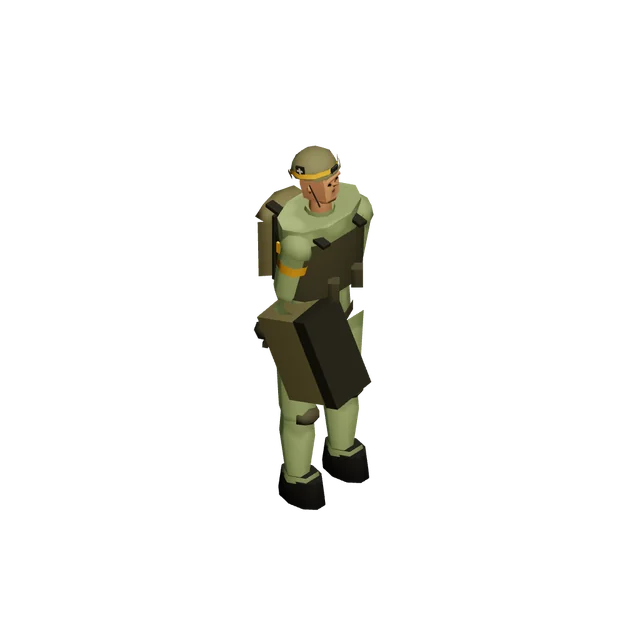
Restores nearby friendly infantry.
Keep it close to the troops it supports. It is unarmed and cannot bring dead soldiers back.
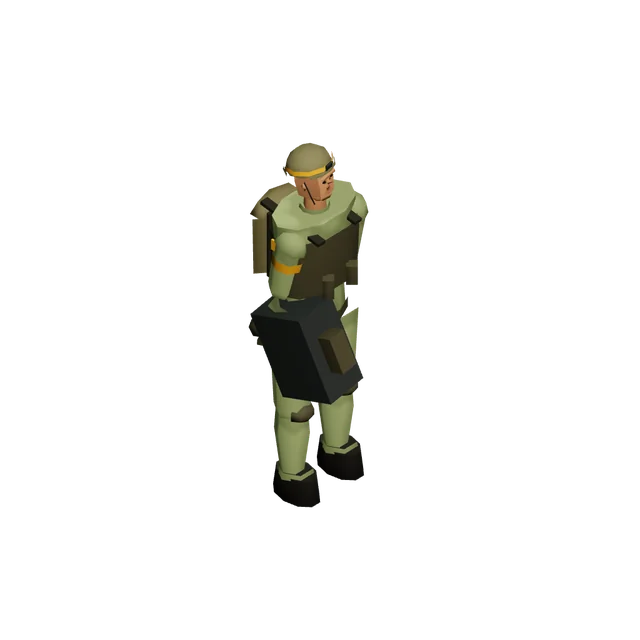
Repairs nearby friendly ground vehicles.
Travel behind the armour, not ahead of it. It repairs damage but cannot recover a destroyed vehicle.
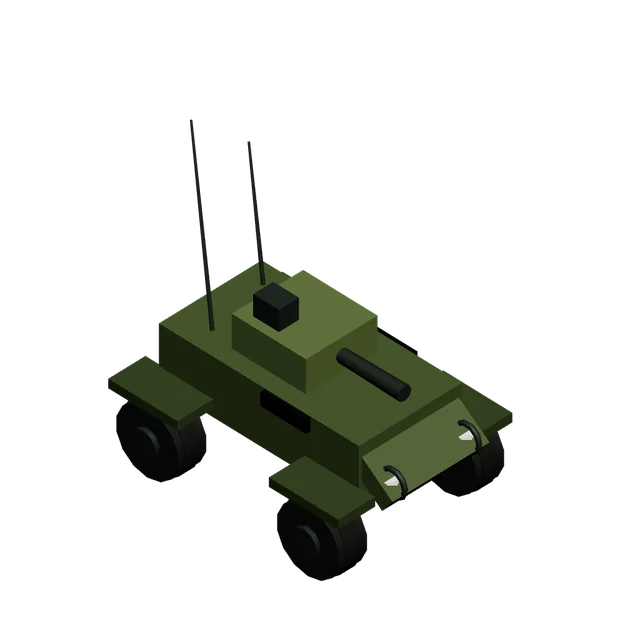
Armed reconnaissance and infantry screening.
Probe ahead without committing to heavy armour. Its autocannon suits infantry and lighter opposition.
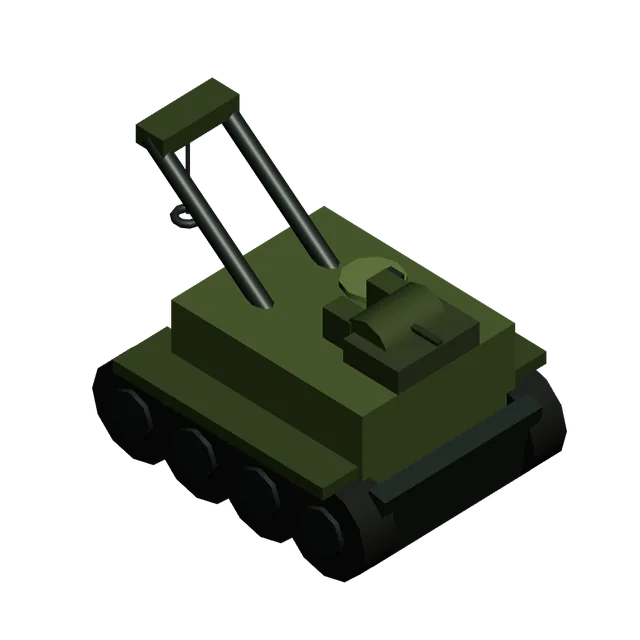
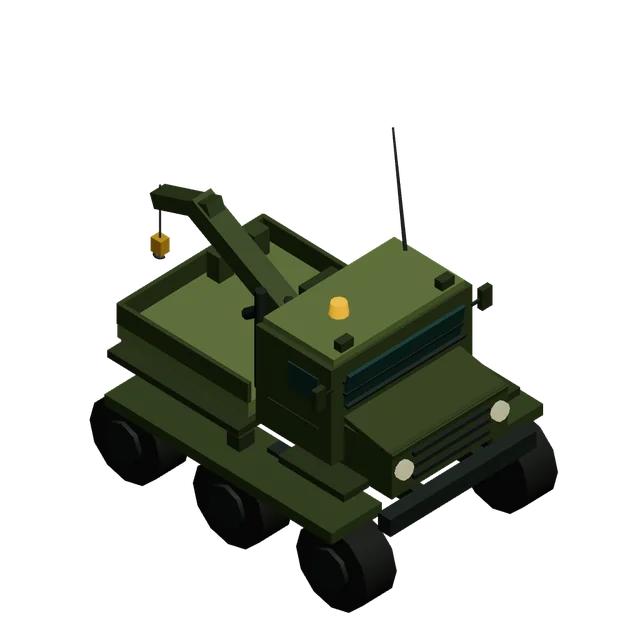
Field repair for damaged ground vehicles.
Keep it behind the force it maintains. An unarmed crane does not belong at the point of attack.
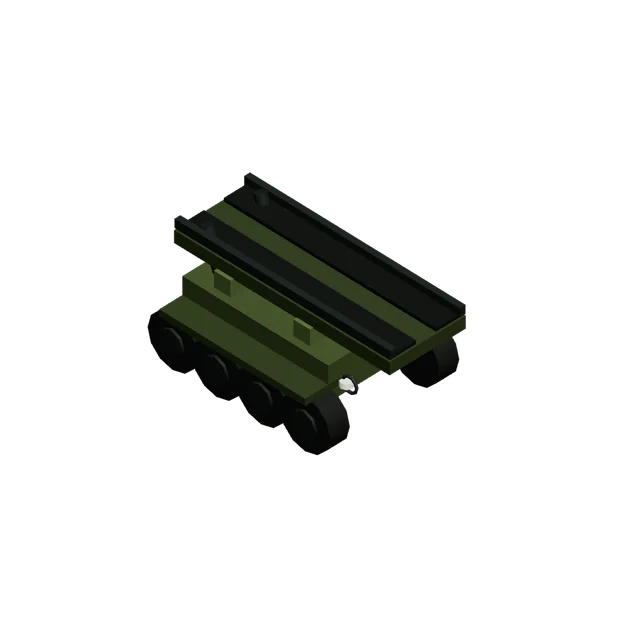
Deploys an assault crossing.
Choose the crossing before committing the vehicle. Deployment consumes the bridge carrier.
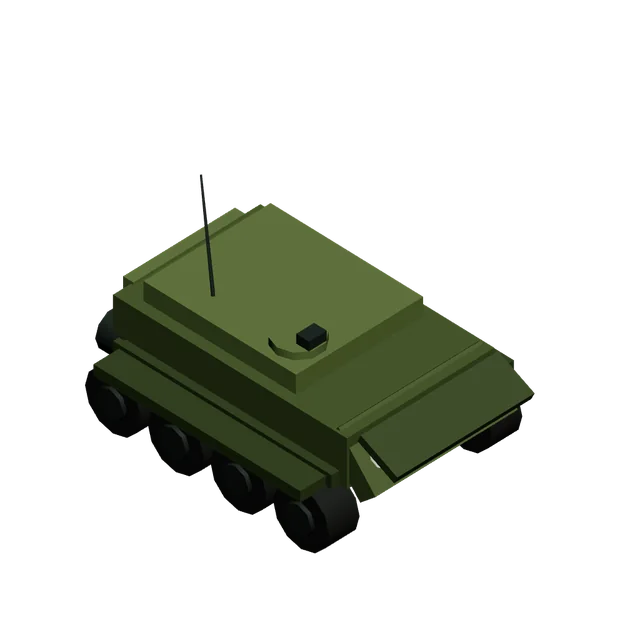
Unarmed movement across water.
Use rivers and shallows to reach another route. Water travel is slow and offers no weapon to cover the crossing.
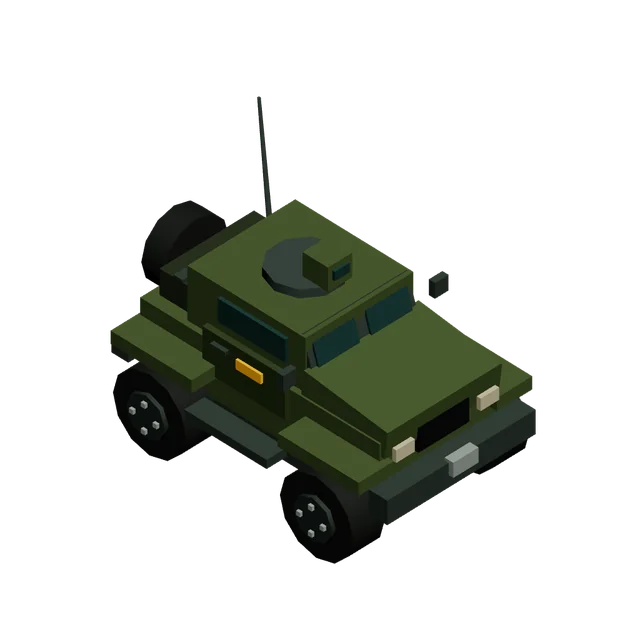
Unarmed mobile reconnaissance.
Keep it moving around danger, not through it. Its value is the ground it reveals.
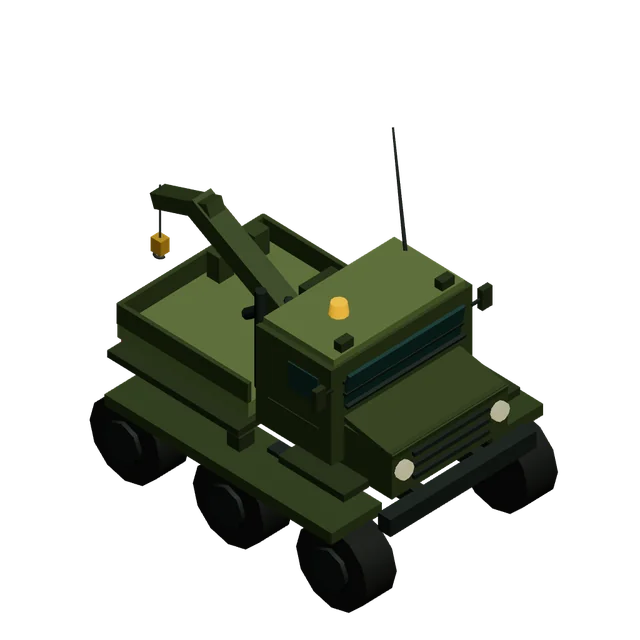
Raises and completes structures.
Secure the worksite and the approach. An unarmed builder cannot settle a contested construction job.
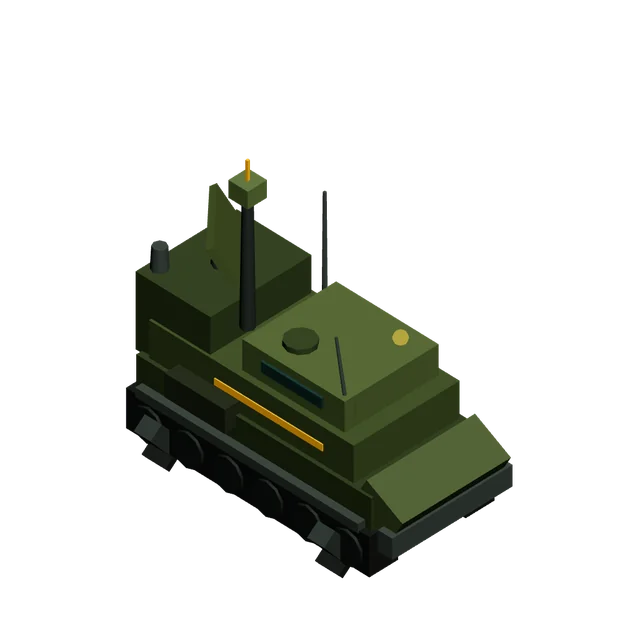
Deploys into Headquarters.
Choose sound ground before deploying. It is unarmed and not a replaceable front-line vehicle.
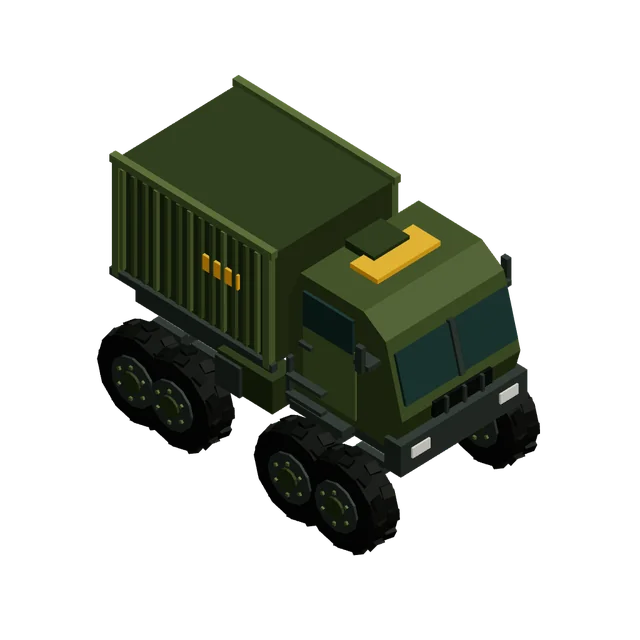
Delivers mined metal to Headquarters.
Protect the route as well as the rig. Metal is not delivered until the truck arrives.
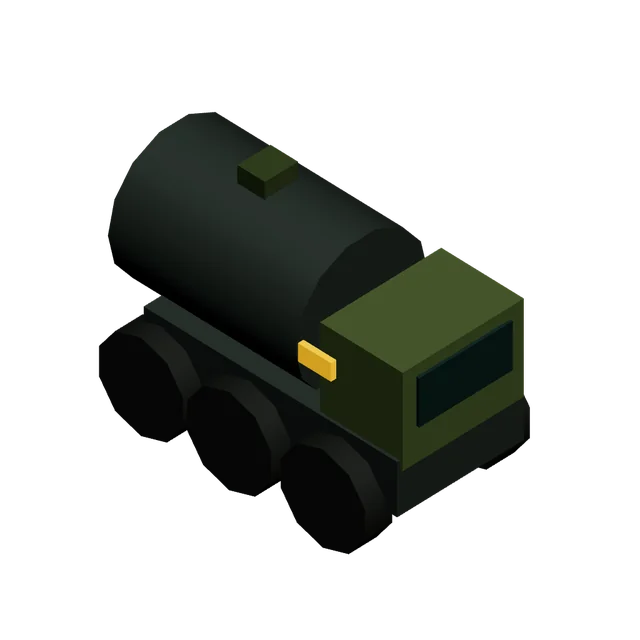
Delivers crude oil to Headquarters.
Keep the hauling route clear. Fuel aboard a destroyed tanker does not reach the stores.
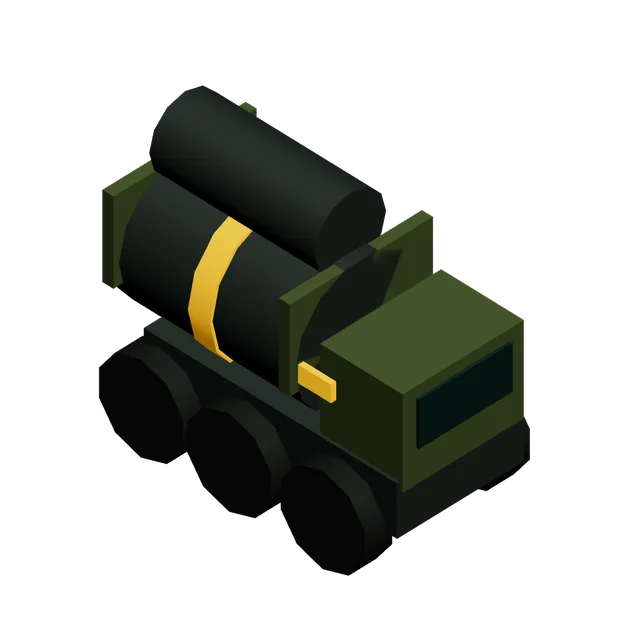
Heavy crude haulage from a Deep Oil Rig.
Guard the road between extraction and Headquarters. A tougher tanker is still a logistics vehicle.
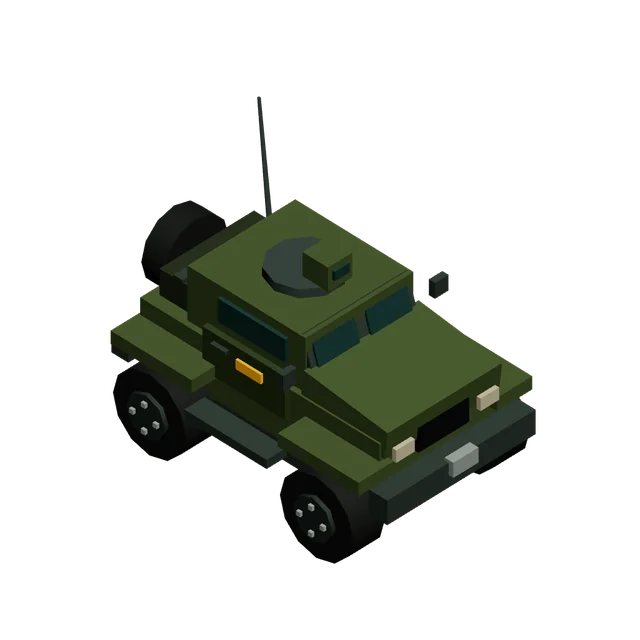
Recovers resources from damaged enemy storage.
Secure the site before sending it to work. Its sidearm is not a substitute for a guard.
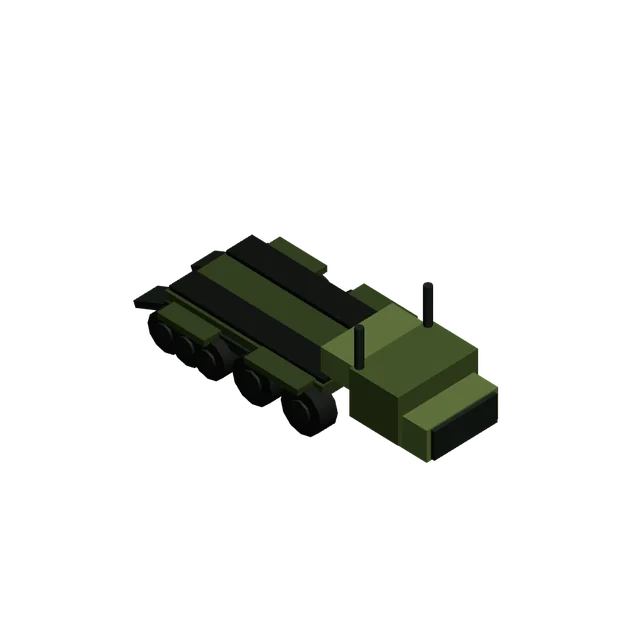
Moves loaded units as cargo.
Clear the road before loading valuable troops and equipment. Cargo is lost if the transporter is destroyed.
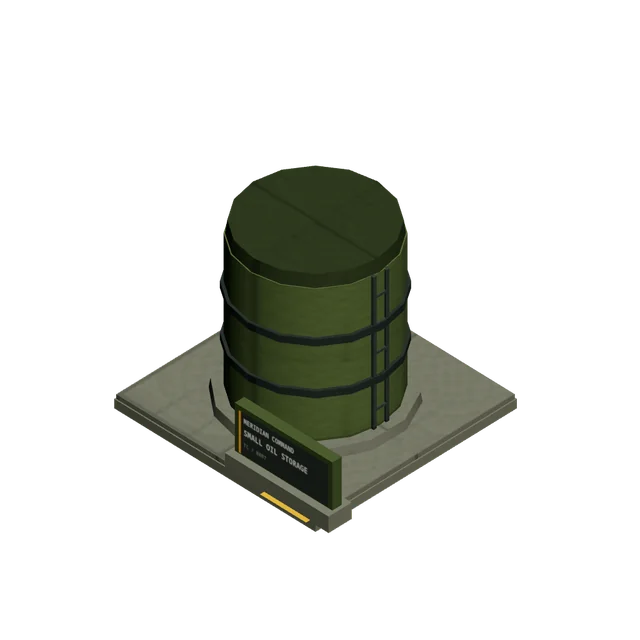
Adds oil storage.
Defend the tank as well as the wells. Stored fuel can be lost when storage is destroyed.
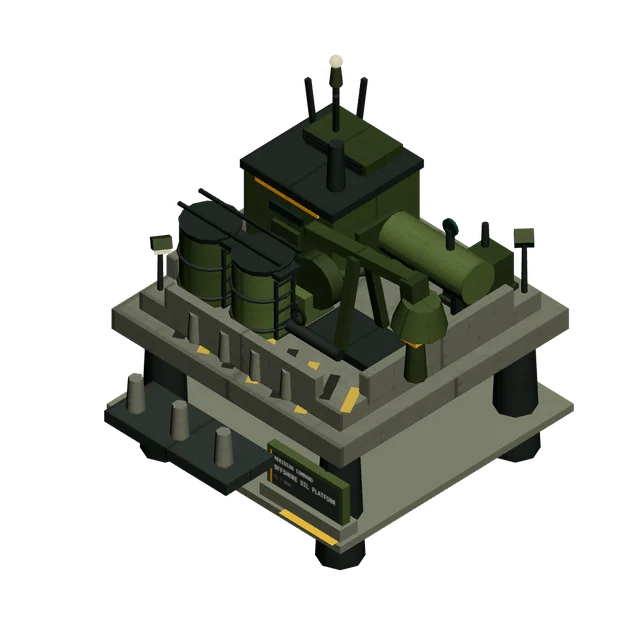
Extracts offshore crude for sea shipment.
Escort the barges and protect the receiving shore. Offshore output still needs a safe journey home.
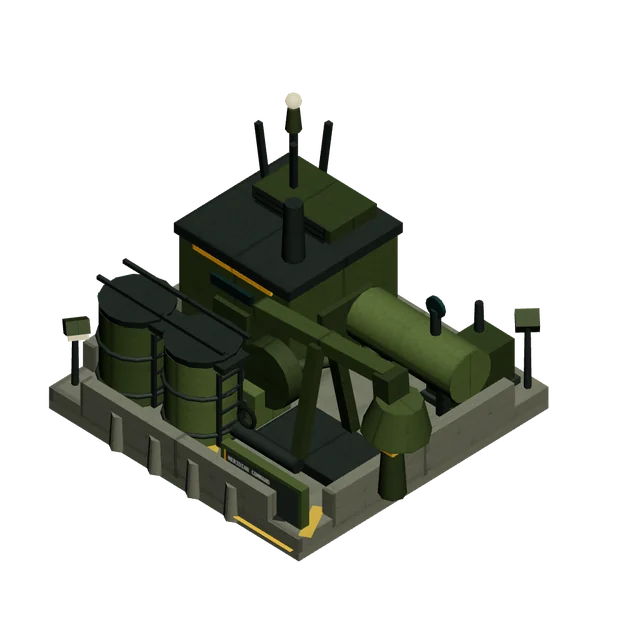
Extracts crude oil for delivery home.
Defend the field and tanker route. Upgrade the working site when stronger extraction is worth the investment.
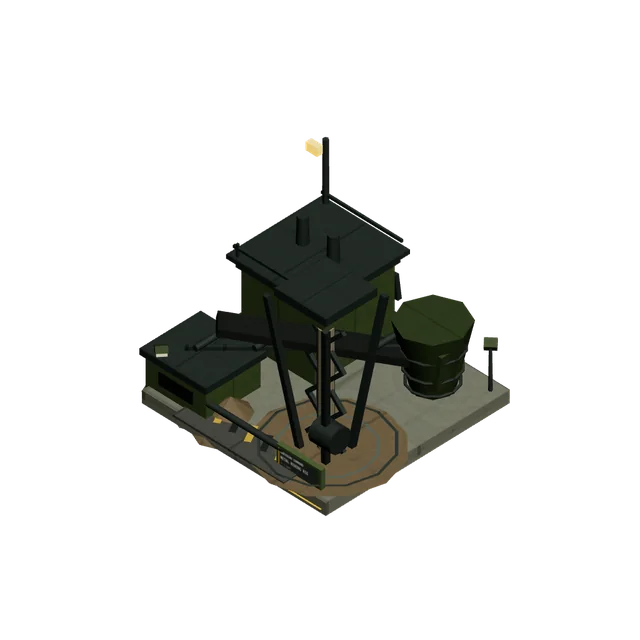
Extracts metal for truck delivery.
Protect the trucks between the rig and Headquarters. Upgrade a useful site instead of treating deliveries as guaranteed.
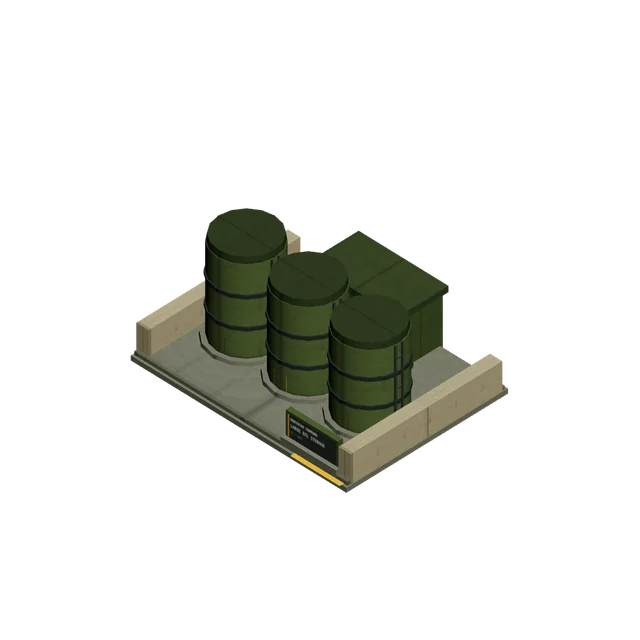
Adds larger oil storage.
Protect the tank farm from a concentrated raid. More capacity makes the site worth defending.
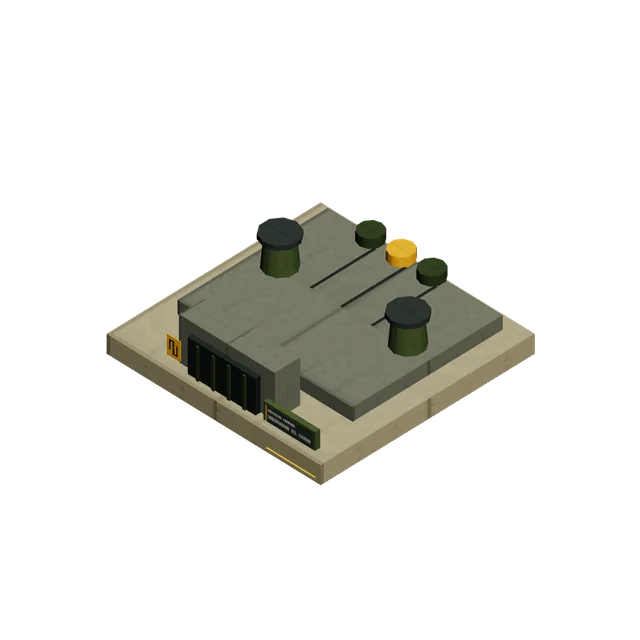
Hardened underground oil storage.
Buried storage resists conventional attack. Keep watch for enemy Special Ops sabotage.
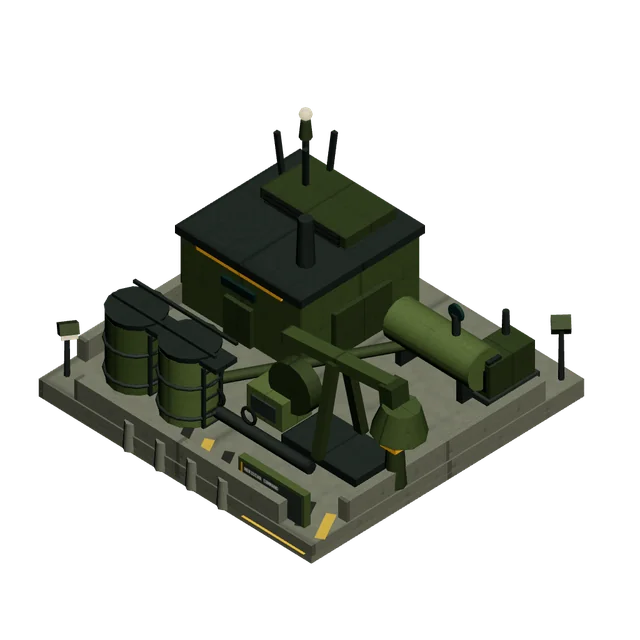
Industrial prerequisite for fixed-wing operations.
Build it as part of the aviation chain. A runway cannot bypass missing supporting industry.
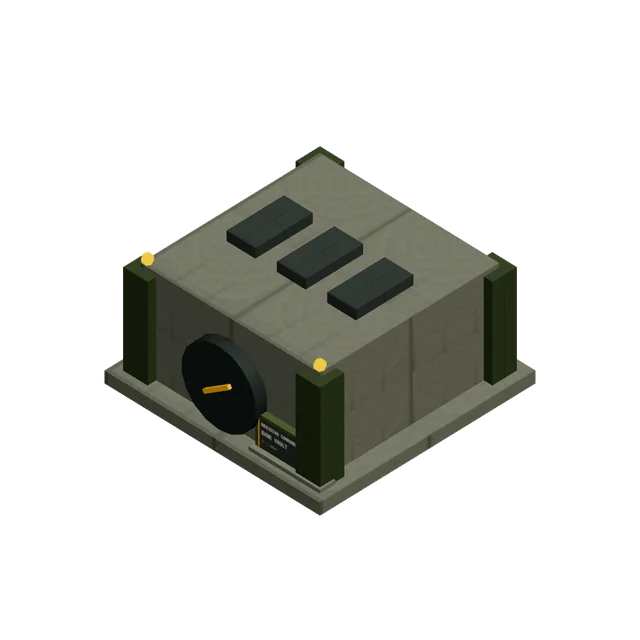
Adds protected credit storage.
Keep the treasury inside a defended perimeter. Credits stored here are at risk if it falls.
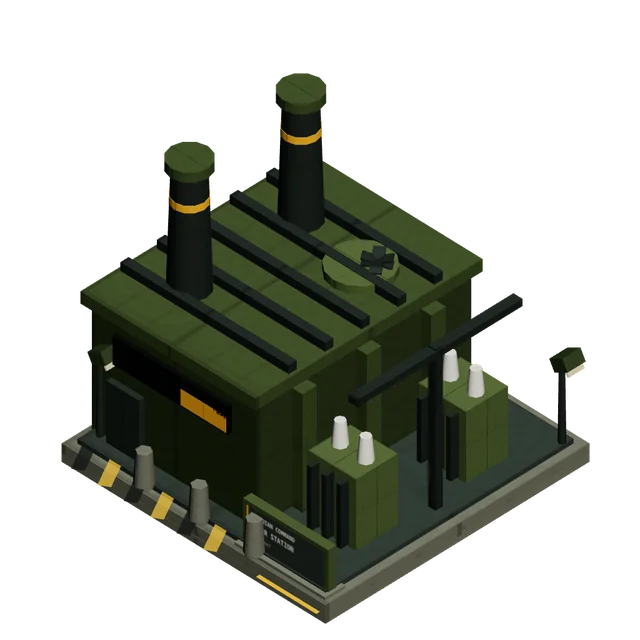
Generates power for the base.
Keep spare capacity for expansion. Protect the grid before adding another hungry facility.
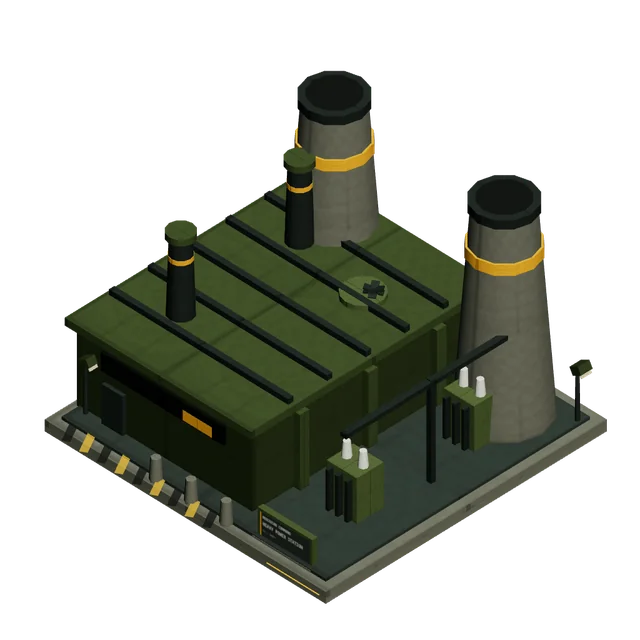
Heavy power generation.
Use its output to support a larger base. Concentrated utility capacity deserves protection.
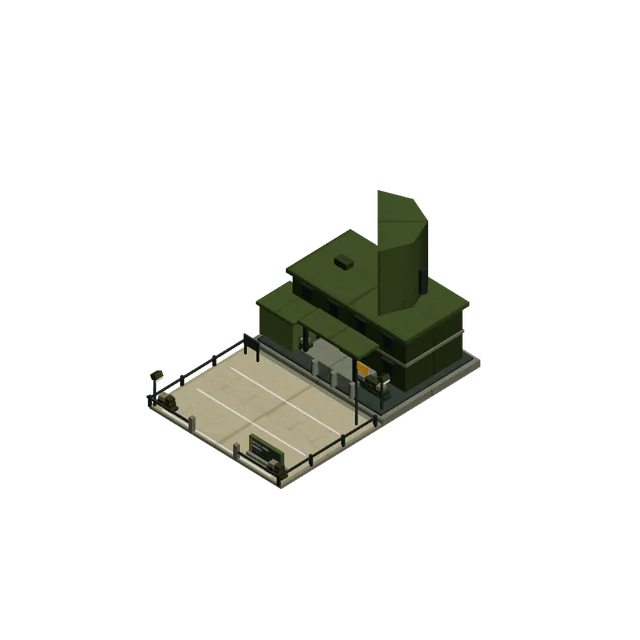
Produces infantry and field specialists.
Train a force suited to the task ahead. Specialist personnel need cover when they leave the yard.
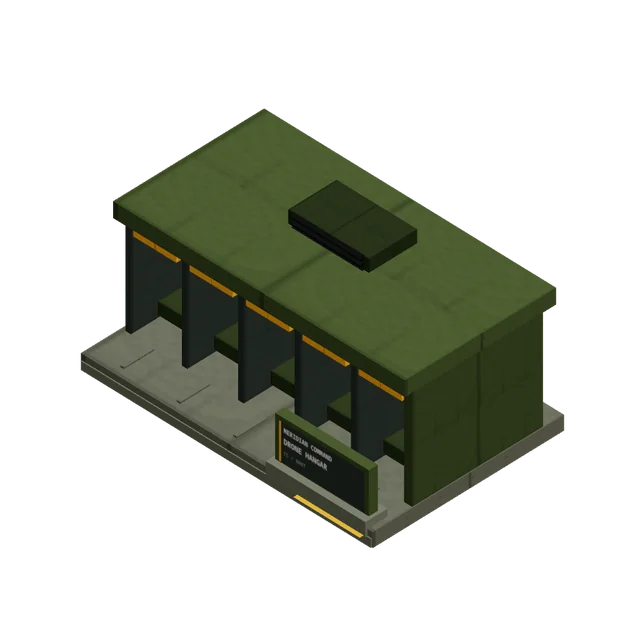
Adds drone storage and operating bays.
Use it alongside a Drone Factory. Extra bays are useful only while the site survives.
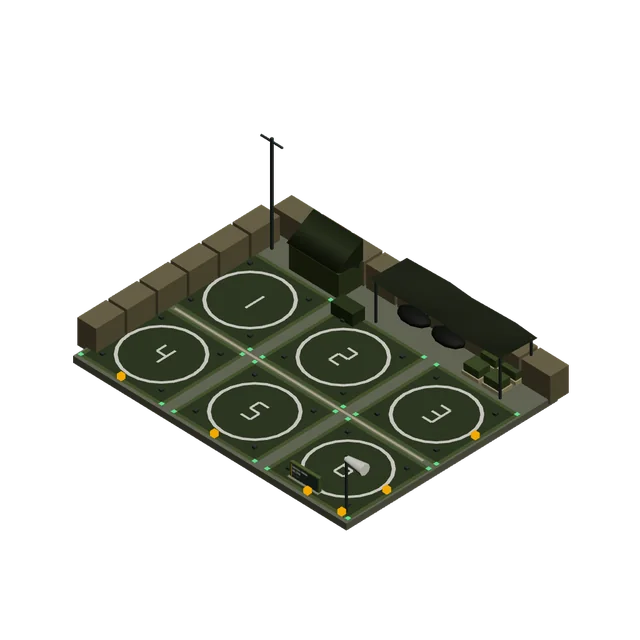
Produces and services attack helicopters.
Keep the landing approaches safe. Helicopters need a place to return when ordnance runs low.
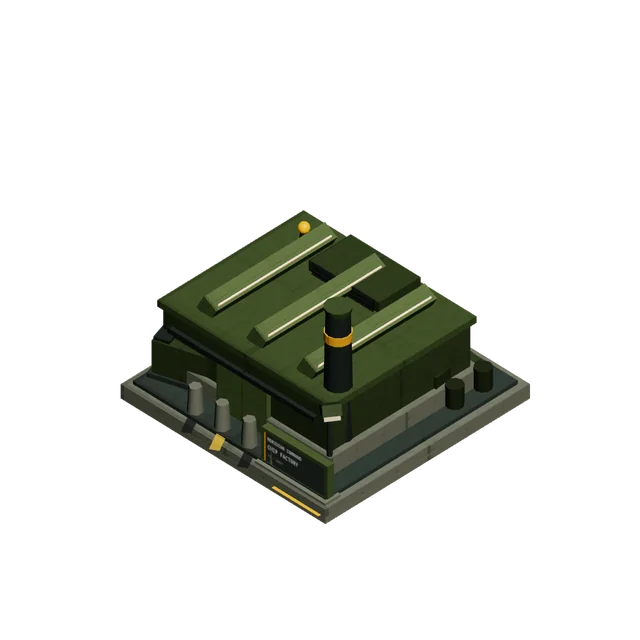
Enables electronics-dependent vehicle production.
Supports equipment assembled at the Armored Factory. It has no unit queue of its own.
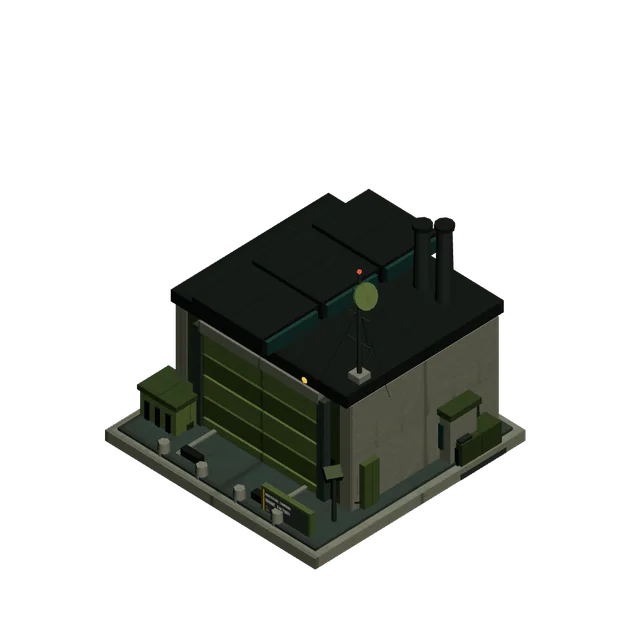
Assembles, stores and services drones.
Protect the production site before filling its bays. Losing the base breaks the sortie plan.
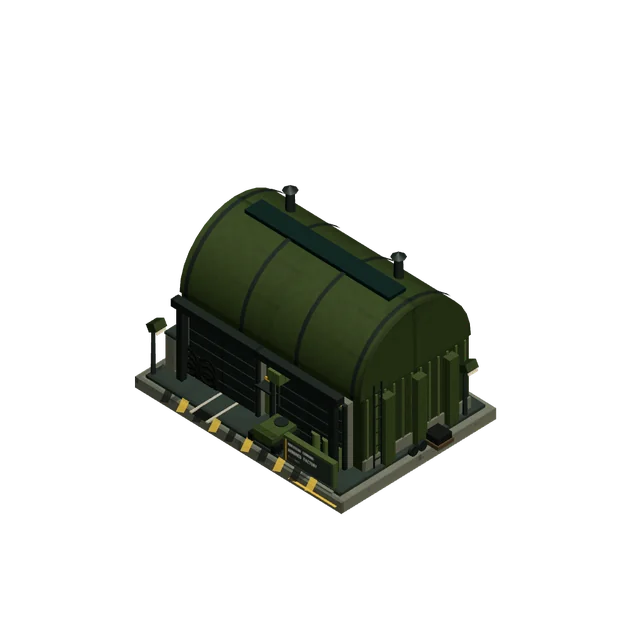
Builds vehicles and armour.
Match the queue to the next operation. Supporting factories and research still gate specialist equipment.
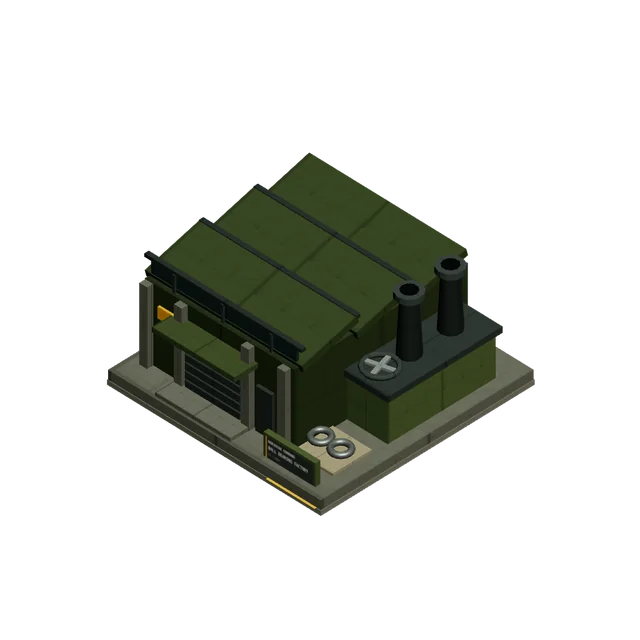
Supports heavy vehicle and aircraft industry.
Build it before the Armored Factory or Airfield. Supporting industry belongs behind the line.
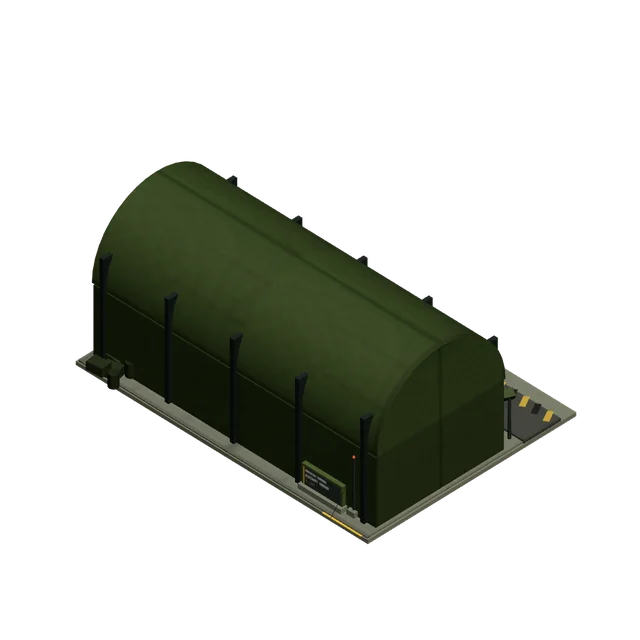
Stores and services fixed-wing aircraft.
Prepare aircraft here for a friendly runway. A shelter is not an independent takeoff strip.
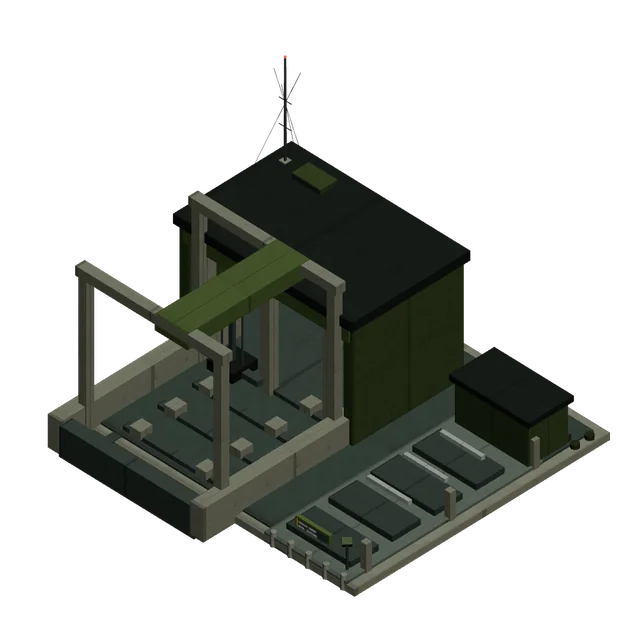
Builds naval combat and support vessels.
Keep the launch approach clear. Offshore supply depends on the sea route and the land delivery beyond it.
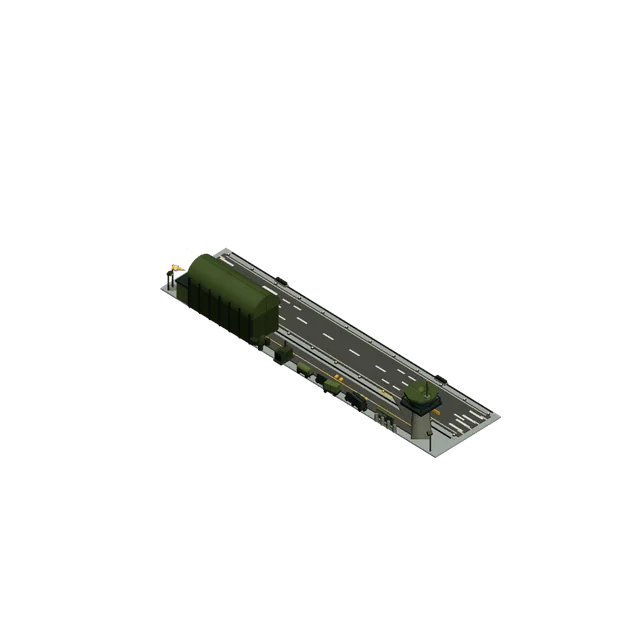
Produces aircraft and operates the runway.
Aircraft share the strip. Damage can slow operations or close the runway.
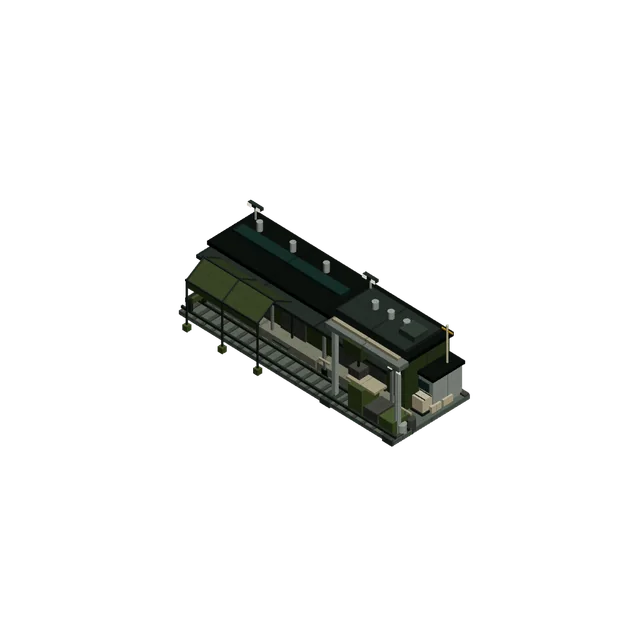
Receives rail requisitions and reinforcements.
Plan shipments before the force runs short. A receiving terminal belongs on secured ground.
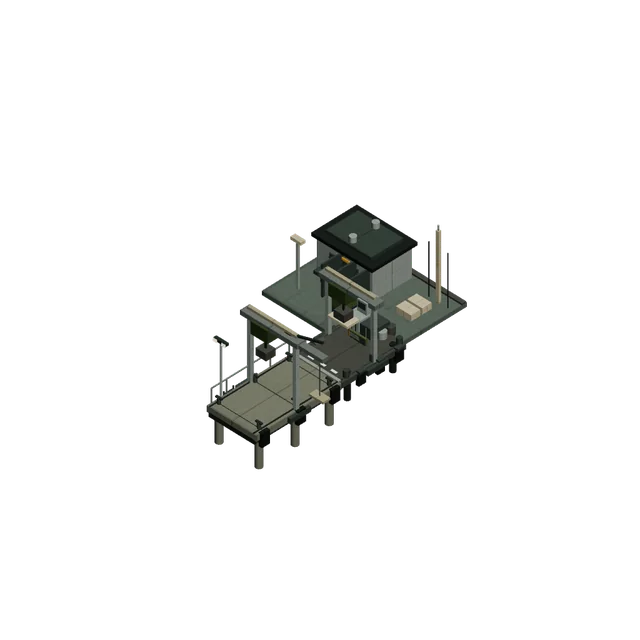
Receives merchant resource shipments.
Protect the incoming ships and docking approach. A sunk cargo ship does not deliver its load.
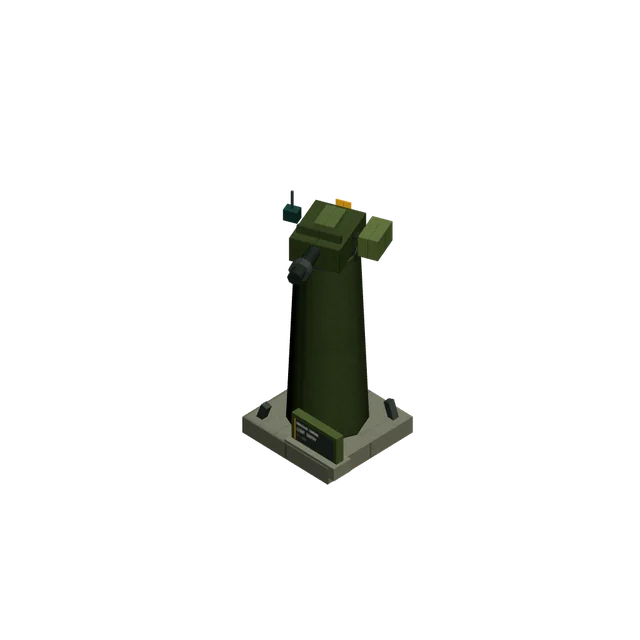
Point defence against exposed infantry.
Cover approaches with sustained machine-gun fire. Armour needs a different answer.
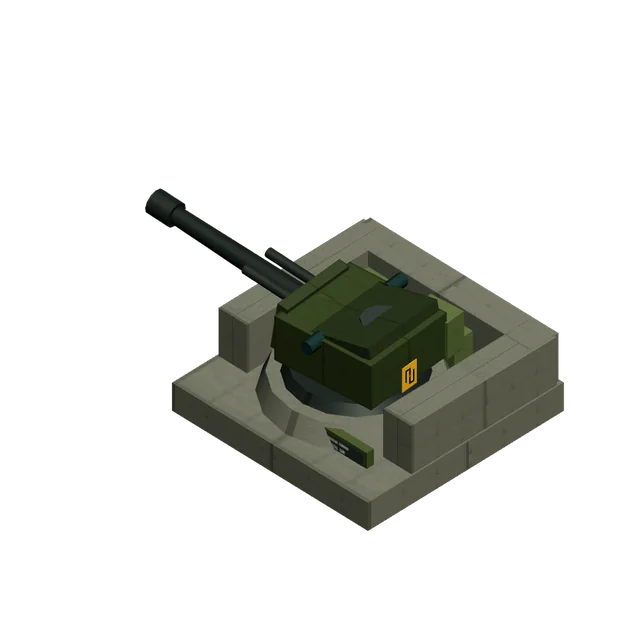
Guards coastal approaches against ships.
Cover it against land attackers. Its naval weapon cannot solve a ground assault.
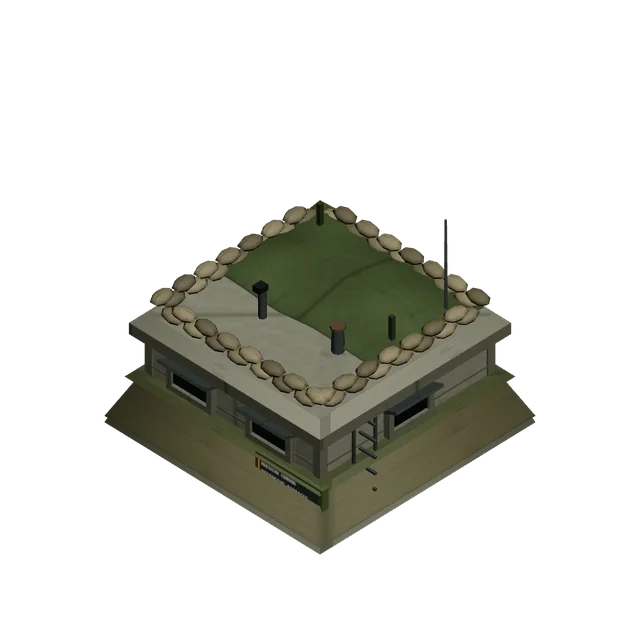
Shelters infantry in a fortified firing position.
Garrison it to make the covered ports useful. A strongpoint still needs a protected perimeter.
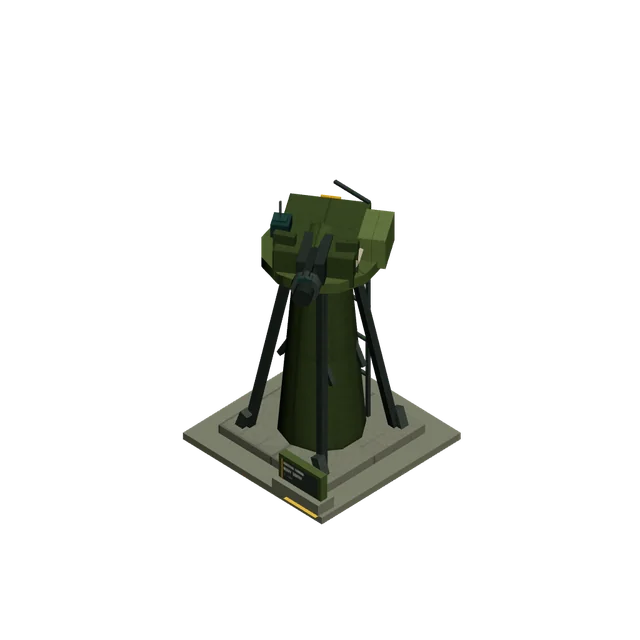
Heavy machine-gun defence against infantry and light vehicles.
Hold useful approaches rather than challenge tanks. Pair it with anti-armour cover.
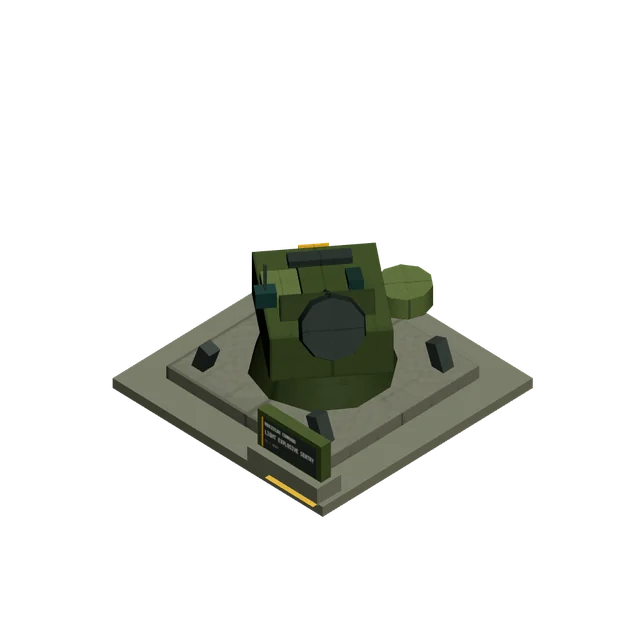
Explosive area defence against infantry.
Cover crowded approaches and wall-backed positions. Tanks and structures are poor targets.
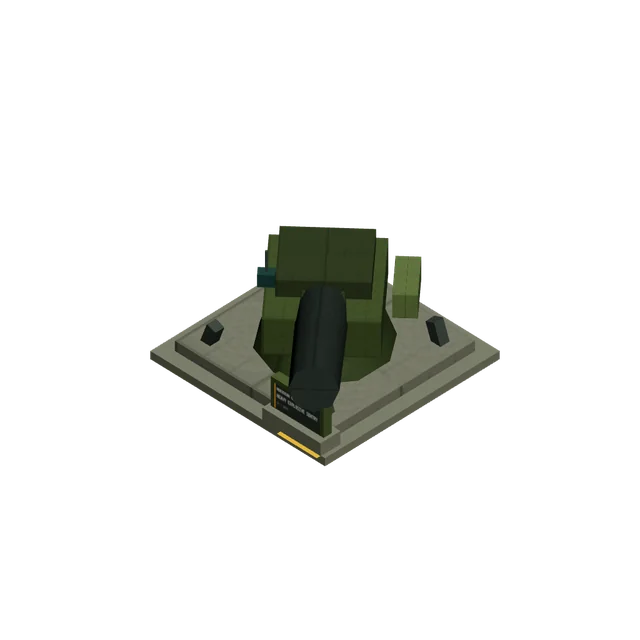
Long-range cannon defence against hard ground targets.
Screen its close dead zone. Slow traverse rewards a clear approach lane.
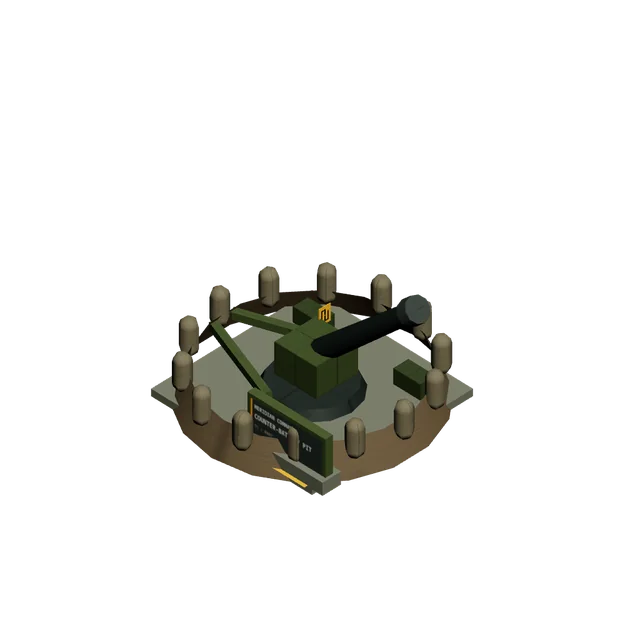
Returns shellfire against stationary threats.
Supports radar-linked counter-battery work. Moving after firing can defeat a return salvo aimed at the old position.
Optional counter-battery system
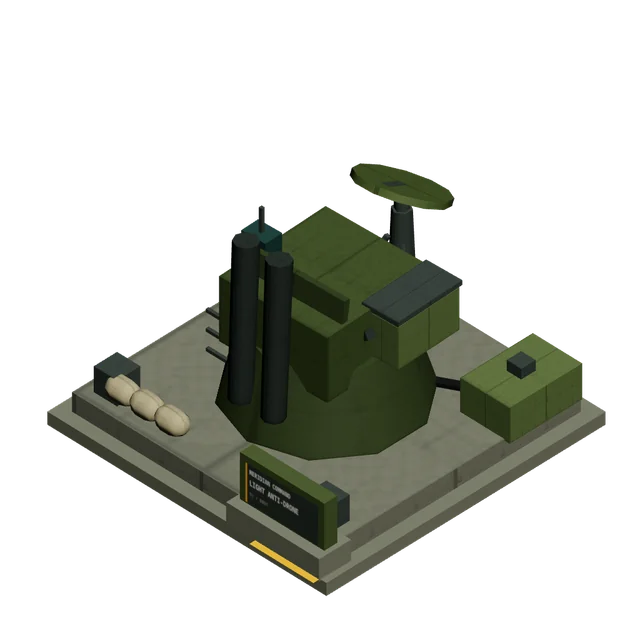
Local interception of low-flying threats.
Cover nearby drones and helicopters. Ground attackers need another defender.
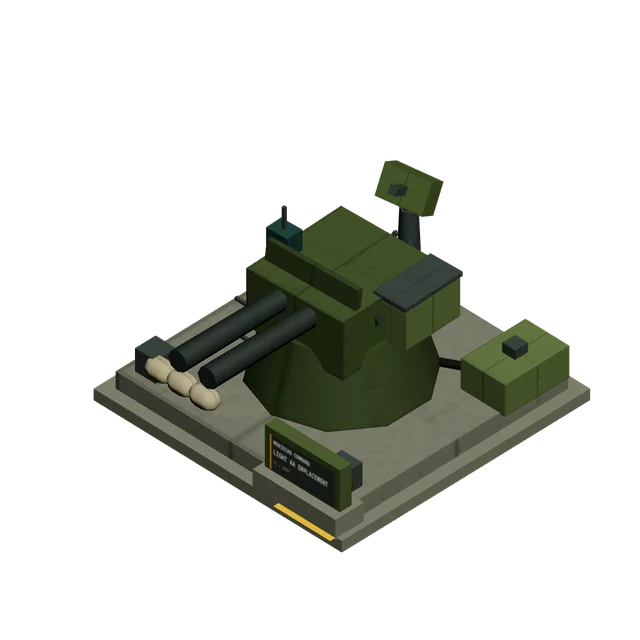
Local gun-based air defence.
Useful against drones and helicopters. Fast aircraft call for a stronger air-defence plan.
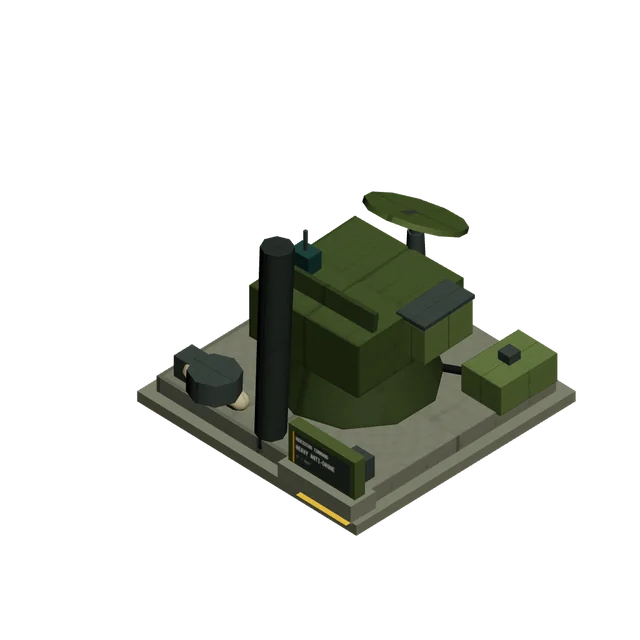
Heavier interception of low-flying threats.
Use its reach to cover valuable ground assets. Keep a ground defence beside it.
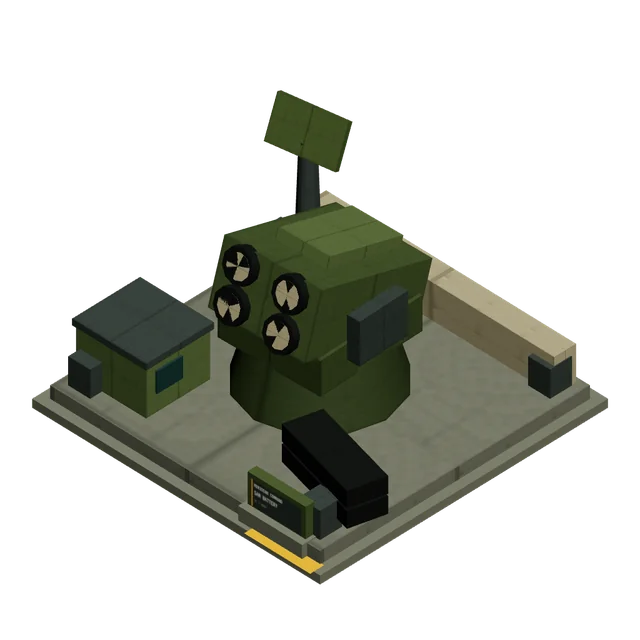
Long-range missile defence against aircraft.
Protect its close approaches and ground perimeter. Nearby drones can slip inside its engagement envelope.
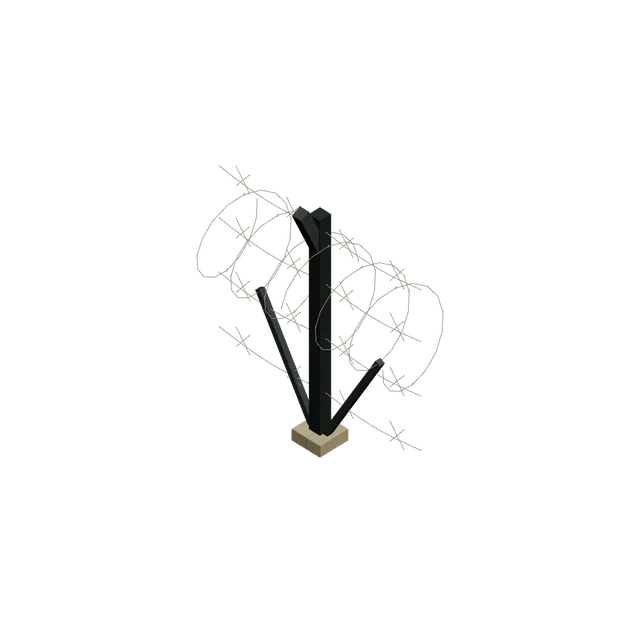
Obstructs infantry approaches.
Cover the obstacle with fire. Ground vehicles can crush a gap through it.
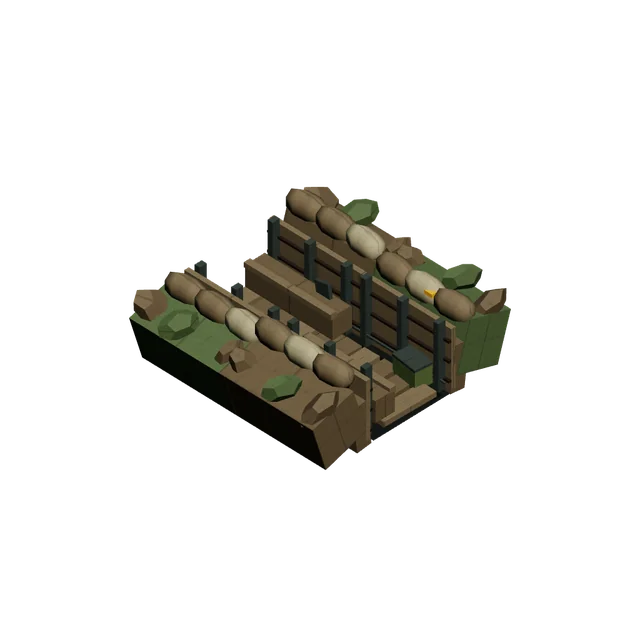
Dug-in infantry cover.
Use it as a firing position, not an impassable boundary. Both sides can cross the earthwork.
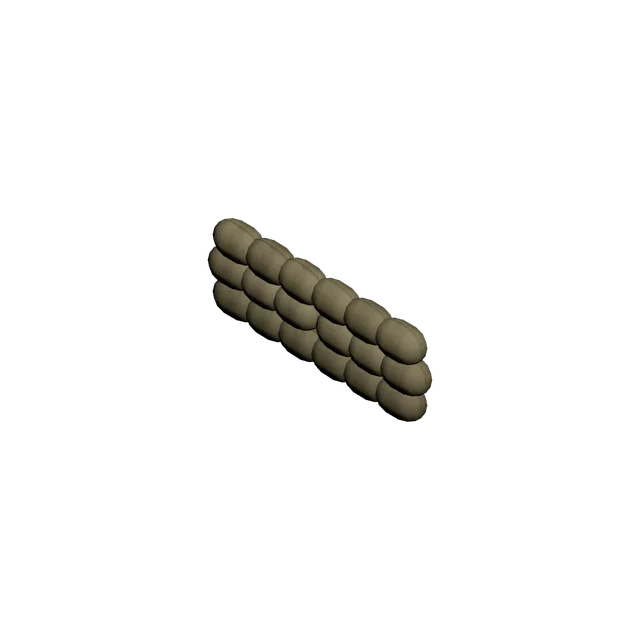
Crossable infantry cover and firing position.
Garrison useful sections to support the line. Vehicles can flatten the cover when crossing.
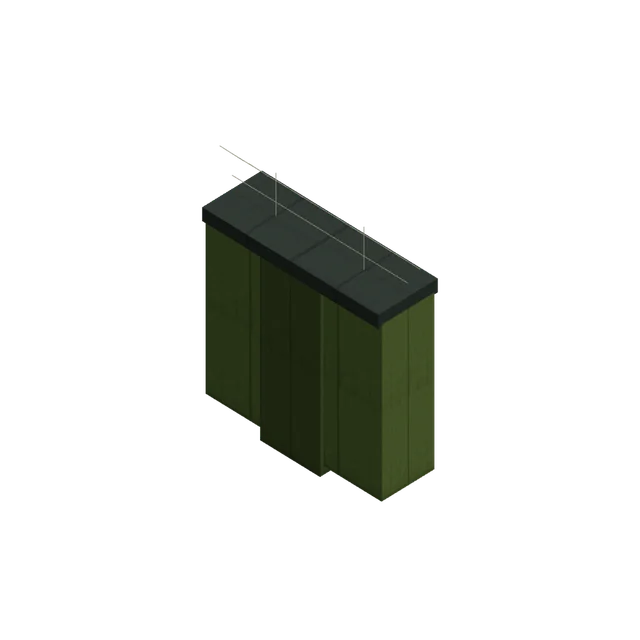
Modular field barrier.
Use it to shape approaches under supporting fire. Rockets and cannons can breach it.
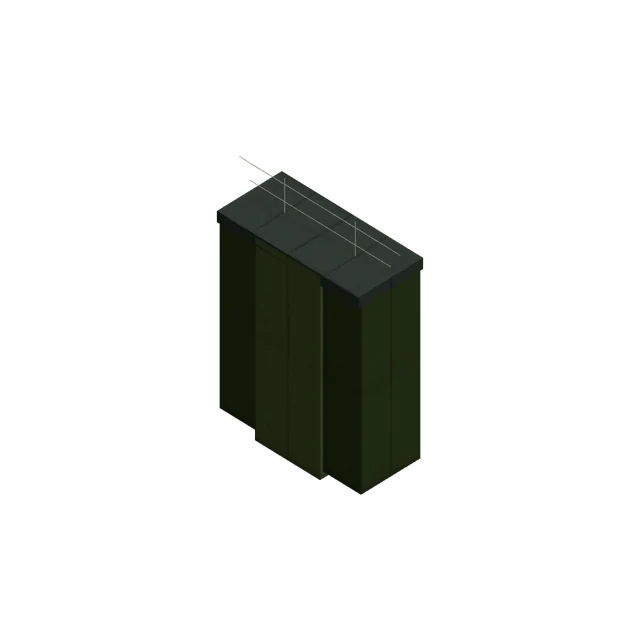
Heavy modular barrier.
Back the wall with a force able to punish a breach. Heavy construction does not make it permanent.
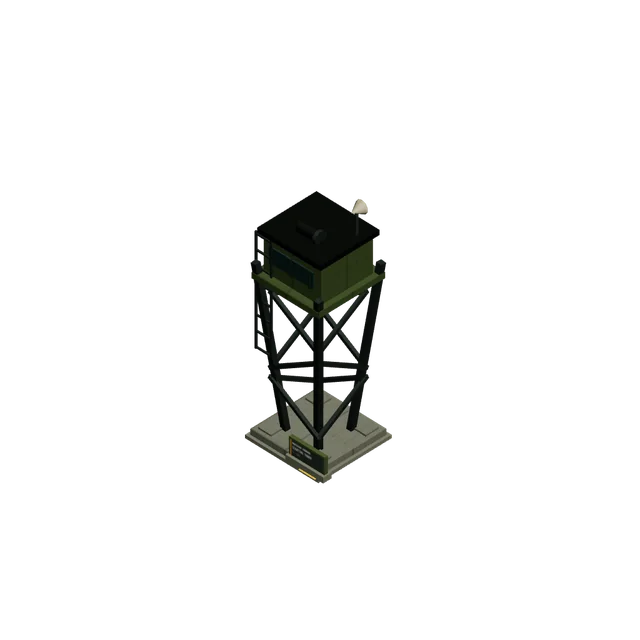
Elevated observation and infantry fire.
Use the view to watch approaches and support a garrison. Occupants are lost if the tower collapses.
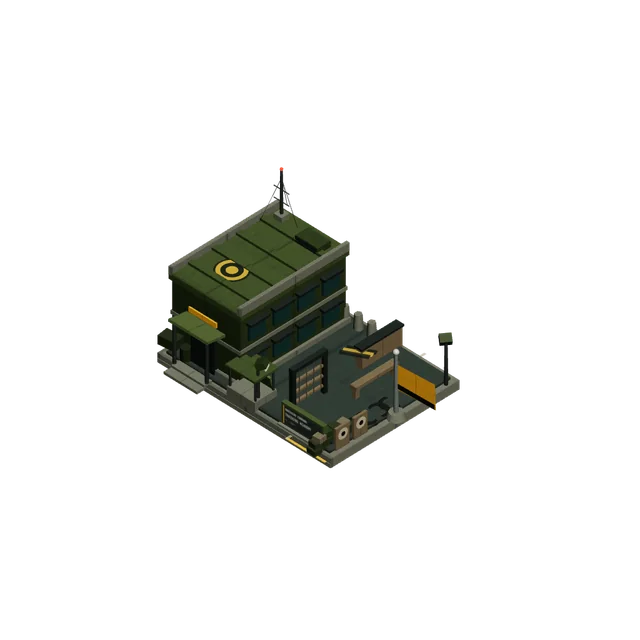
Supports coordinated ground formations.
Use it for staggered assaults and supporting screens. Manual movement remains your order.
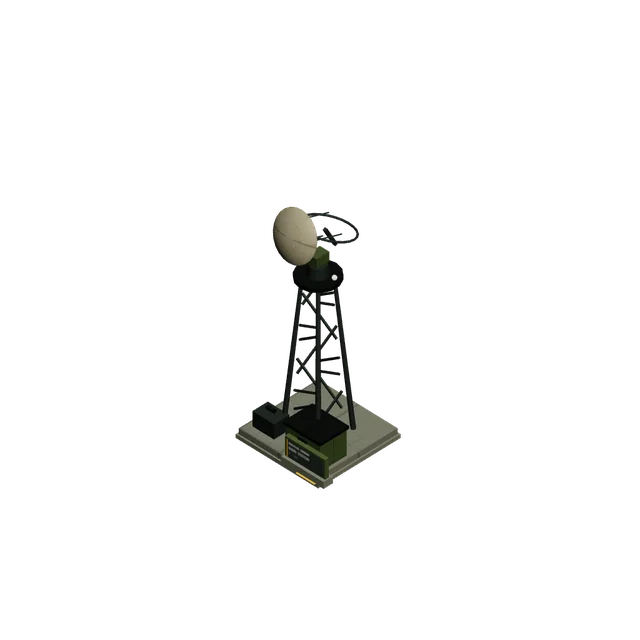
Long-range observation.
Use its reach to support distant engagements. It is not a bunker and cannot shelter a garrison.
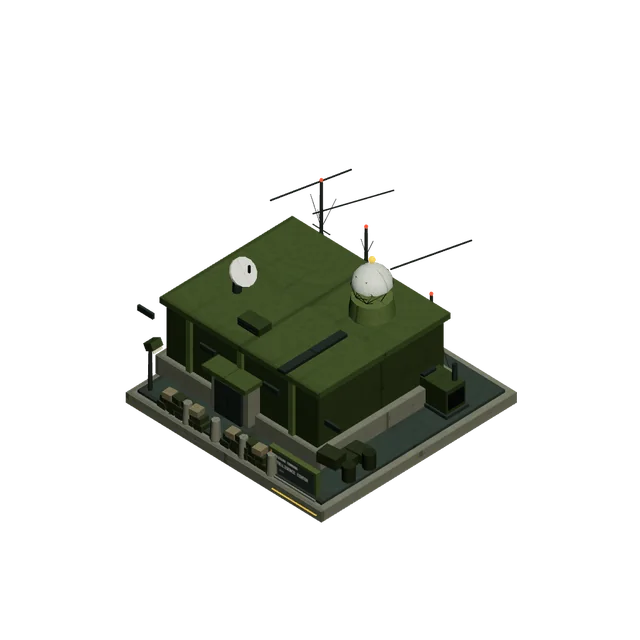
Runs permanent equipment-unlock research.
Choose programmes to support the force you intend to field. Research is not an instant replacement for an army.